

Depot Administration
Up to five tabs are available on the Administration page:
- Access rights. Here you can manage user access rights to this depot.
- Route groups. Here you can create and edit route groups.
- Depot settings. Here you can change the depot settings.
- Locator. Here you can create the locator links.
- Notifications. Here you can configure notifications about the events in NimBus to be sent to external servers.
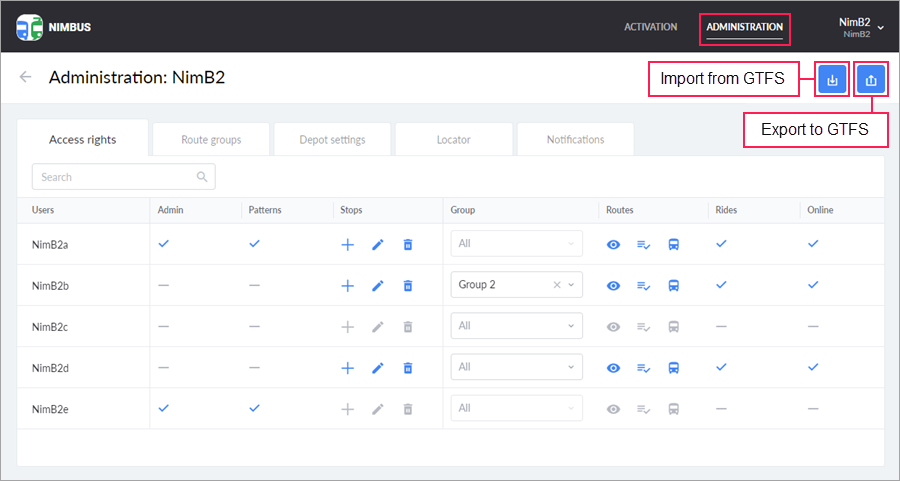
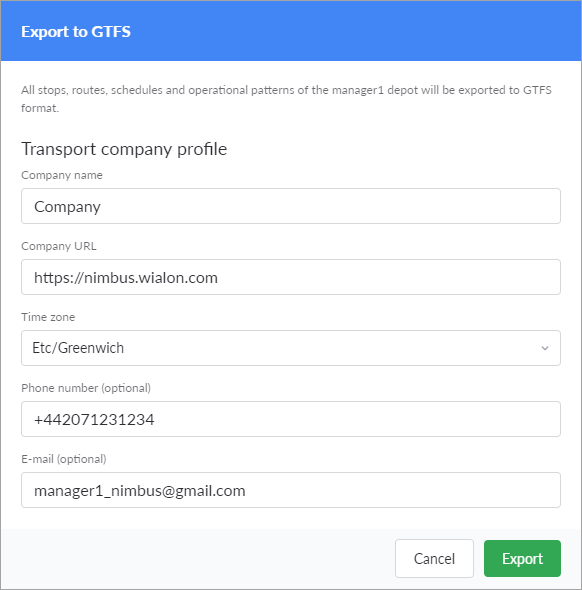
Export to GTFS
You can export stops, routes, schedules and operation patterns to a GTFS file. You can use this option to integrate NimBus with external systems, to back up data and transfer it from one account to another.
To export data to a GTFS file, follow the steps below.
- Click on the button
 in the upper-right corner of the Administration page.
- Fill in the following fields.
- Company name;
- Company URL;
- Time zone;
- Phone number (optional);
- E-mail (optional).
- Сlick Export.
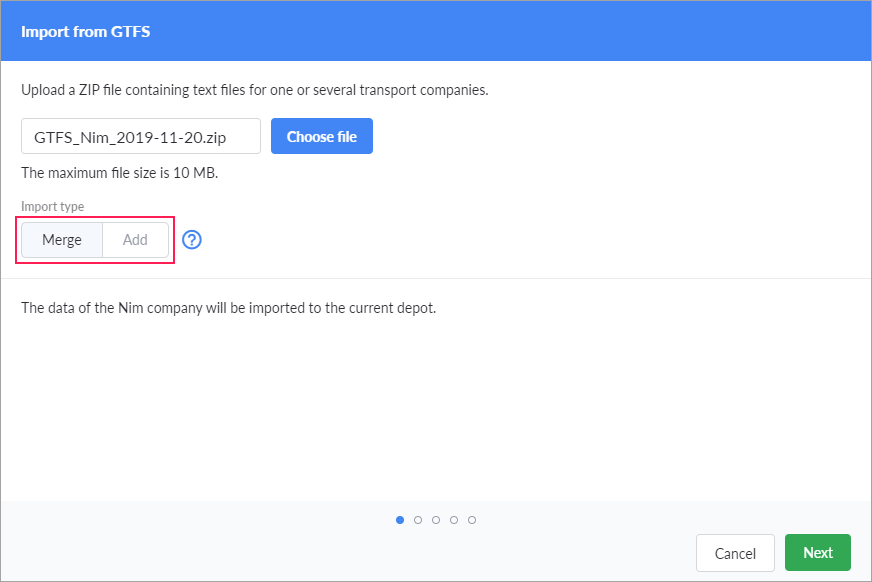
Import from GTFS
You can also import stops, routes, schedules, and operation patterns from a GTFS file to the account.
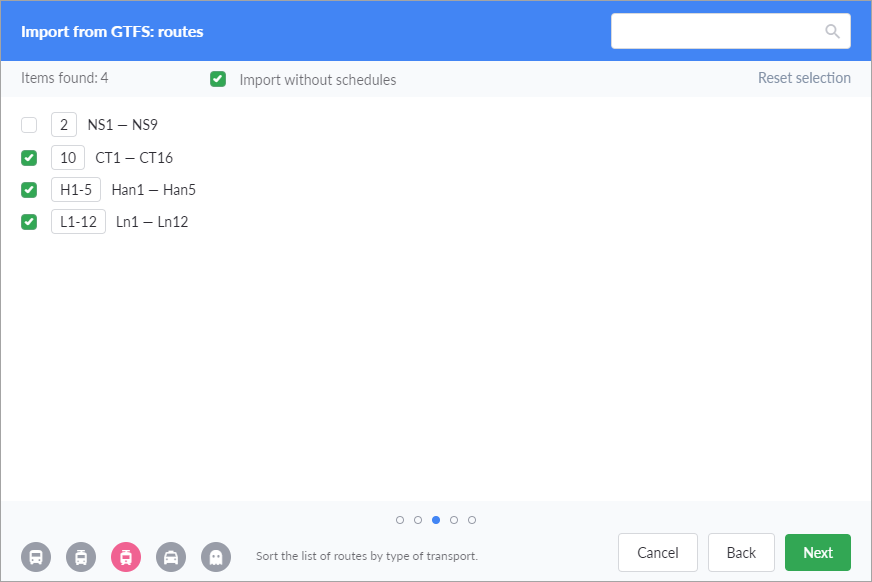
You cannot import routes which contain more than 100 stops, nor can you import routes without a schedule.
To import, follow the steps below.
- Click on the button
 in the upper-right corner of the Administration page.
 - Select the file (the size must not exceed 10 MB) that contains the data you want to import.
- Select import type:
- Merge. Items with the same name are replaced and the new ones are added.
- Add. Items with the same name are left as they are and the new ones are added.
- In the next steps, select the stops, routes, and operation patterns you want to import. Stops can be assigned one or several types of transport (bus, trolleybus, tram, route taxi). For routes, filtering by the type of transport and the option of import without schedules are available. If you select the Merge import type and activate the option of import without schedules, the schedules of the routes that have the same name are deleted.
- In the last step, you can see the information about the number of items to be imported. To change the selection, go back to the previous steps and make the necessary changes. To finish, click Import.
Was this helpful?
Download
 Download PDF file
Download Word document
Download PDF file
Download Word document
All pages
Only this page