

To create the Send a report by email job, you should have:
- the Create, edit, and delete jobs access right to the resource in which the job is created;
- the View report templates access right to the resource in which the required template is stored;
- the Request reports and messages access right to the object for which the report is generated;
- additional access rights required for running the report (only for some of the reports, for example: Log, Custom fields, Orders);
- the Use unit in jobs, notifications, routes, retranslators access right to the unit if the report on it is generated.
You can use the Send a report by email job to receive reports on the user and unit activity by email regularly, without logging in to the monitoring system.
To create a job of this type, follow the guide to creating jobs. In step 4, specify the parameters described below.
The required parameters are marked with an asterisk (*).
| Parameter | Description |
|---|---|
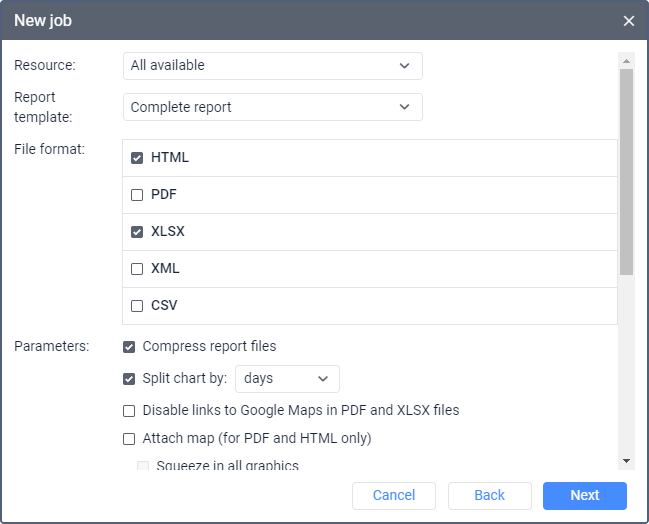
Resource* | In the drop-down list, select the resource in which the required report template is stored. To see templates from all the available resources, select the All available option. |
Report template* | Select the required report template. The list shows only those templates that belong to the selected resource. |
File format* | Select one or more file formats: HTML, PDF, Excel, XML, CSV. When you select the PDF format, you can specify the page orientation, size, and width. If you select the CSV format, you can specify the coding and delimiter, and enable or disable the display of column headers. Read more about report formats on the Exporting report to files page. |
Parameters | Specify additional report parameters. They are similar to the parameters that are available when exporting a report to a file. |
Interval* | Specify the time interval for which the report should be generated. See the examples of configuring the interval to receive daily, weekly, and monthly reports. |
Content* | Select one of the two options which determine the report content:
If the file size exceeds 30 MB, the Send links to files/archives option is used automatically. |
Recipients* | Specify the email addresses of the report recipient. To do this, activate the fields and enter the required addresses. After filling in the last field, a new one is added automatically. To cancel sending reports to any of the specified email addresses, uncheck the box to the left of the required address. Besides, a recipient can unsubscribe from reports by following the link at the bottom of the email. In this case, the box to the left of their email address is automatically unchecked in the job settings. If all the specified recipients unsubscribe, the job is automatically disabled. |
When selecting units, the list displays only those that are currently in the work list on the Monitoring tab.
Before sending a report, the system checks that the creators of the job and the resource in which it is stored have the required access rights. If they don’t have these rights anymore, the report is not sent.
Geodata is shown in the report in accordance with the user settings of the creator of the resource in which the job is stored.
Sensor values can be displayed in the report in rounded form. For this purpose, the required rounding format must be selected in your user settings. If you are not logged in, and the job is carried out automatically, the format is taken from the settings of the user who created the resource where the job is stored.
Interval configuration examples
To receive a daily report, select the For previous 1 days interval and specify night time in the execution schedule, for example, 3:00. Then, by the beginning of a new working day, the recipients will have already received an email with a report for the previous day.
If the working day ends after midnight (for example, rides end after 00:00), select the For previous 24 hours interval, and set the activation time to 4:00 am. With these settings, a report is generated every day at 4:00 am and contains data for the past 24 hours. Also, the trips ending after midnight are not divided into two parts.
To receive a weekly report, select the For previous 1 weeks interval and specify night time in the execution schedule, and select Monday in the time limitation. Thus, by Monday morning the recipients will already have a report for the past week.
To receive a monthly report, select the For the previous 1 months interval, specify the time in the execution schedule, and select the first day of the month in the time limitation. Thus, the report for the previous month will be sent to the recipients on the first day of each month.