The Wialon Local distribution contains the Debian 12 Bookworm operating system. We recommend installing Wialon Local on a physical server. You can also install Wialon Local 2404 on the AWS cloud service.
To install the distribution on the Windows server, use a virtual machine.
First, download ISO image from the distribution server and record it on a CD, DVD, or USB flash drive.
Adjust BIOS configuration so that to boot from the CD/DVD drive. Then follow the instructions on the screen:
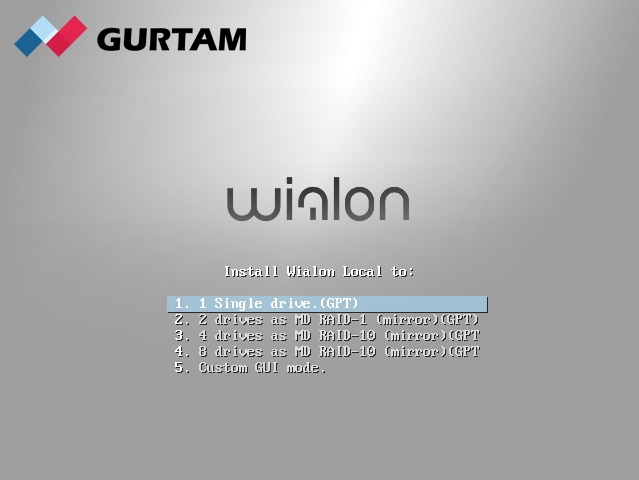
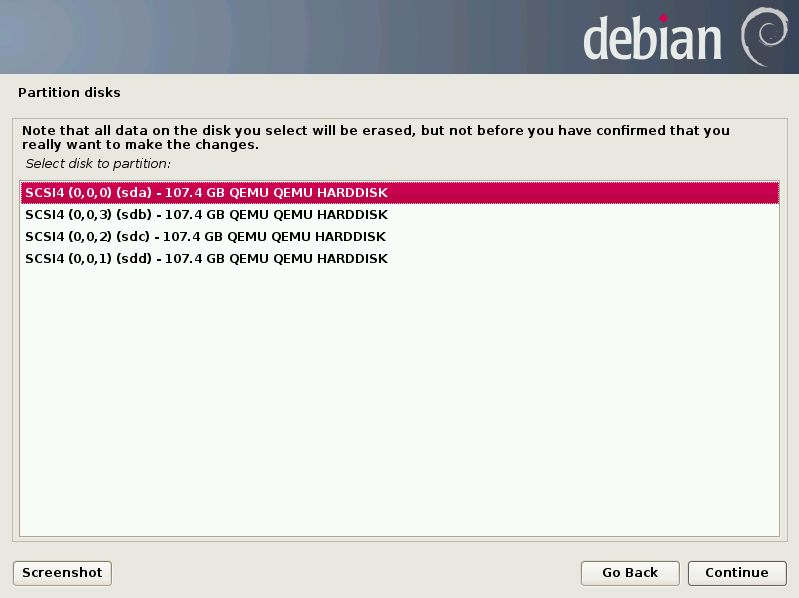
- Select the installation type: one, two (RAID-1), four (RAID-10) or eight (RAID-10) drives.
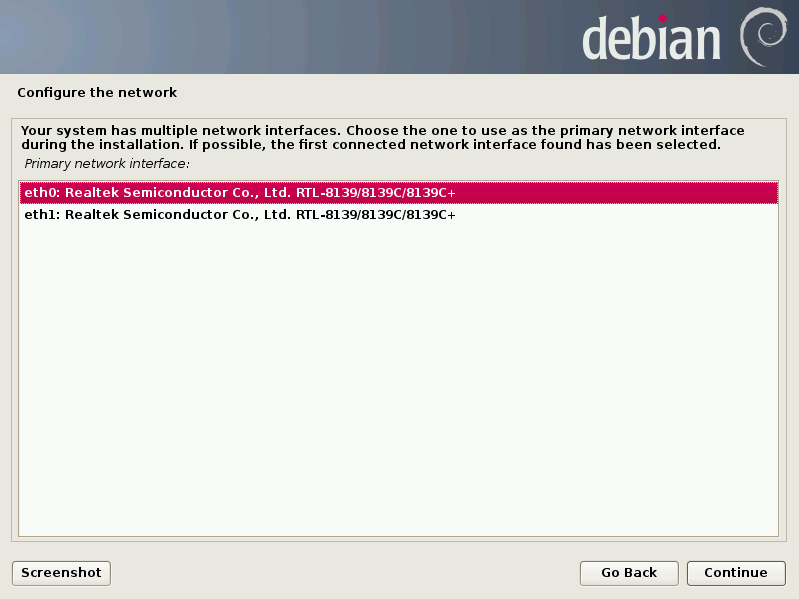
- If more than one network is detected, you will be asked to select which one should be used during the installation process.
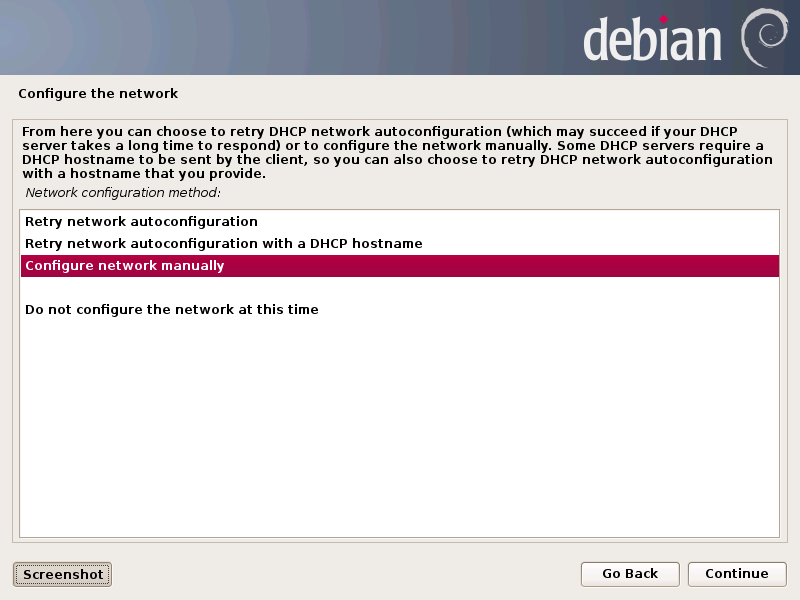
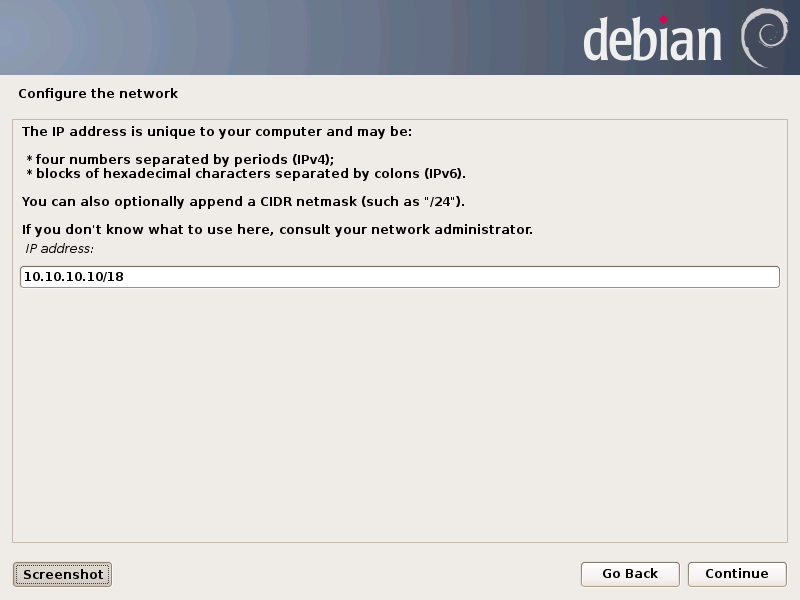
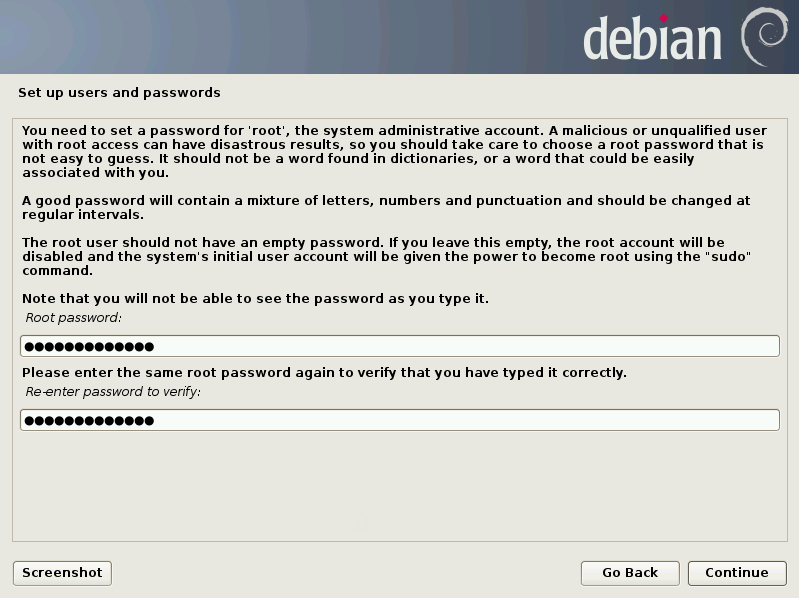
However, if DHCP server is not available during the installation, check network availability and repeat network adjustment or set network parameters manually: - Set up password for the root account — main account of your Debian OS.
- If installation on one drive was selected at the beginning, specify a particular drive here.
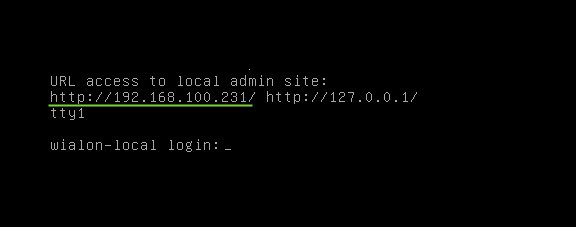
- When the installation process is complete, the system will reboot automatically (do not forget to readjust BIOS settings back). After the reboot, the URL address of Wialon Local administration system will be shown.
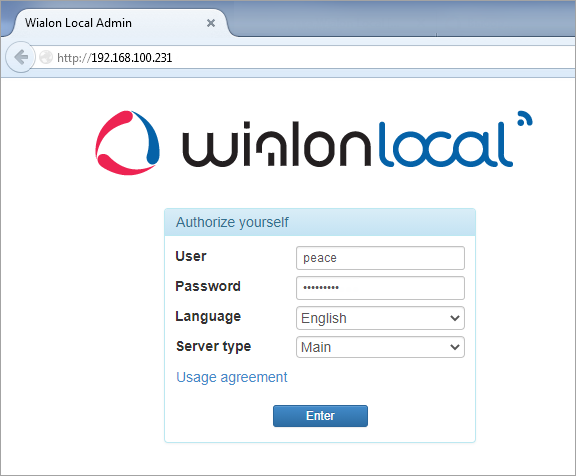
Enter this URL in the address bar. To authorize, use the user name and the password given to you when purchasing Wialon Local. In the Server type line, select Main.
If you pre-install Wialon Local for the backup server, do not perform this and the following steps.
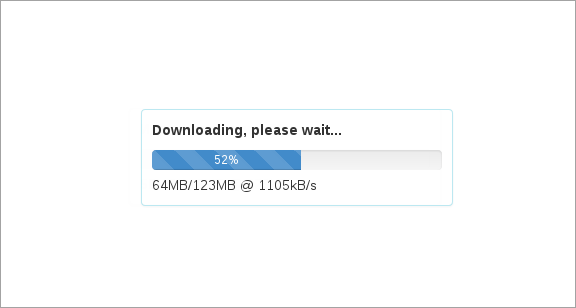
After a successful authorization, Wialon Local will be downloaded and installed. This may take some time.
When the process is complete, you log into the Administration system. If needed, configure access to it (see below).
The default interfaces of management and monitoring systems are available on ports 8024 and 8025, respectively.
Depending on the configuration of your server, a non-standard installation may be required. In case of difficulties, contact tecnical support.
Configuring access to the administration system
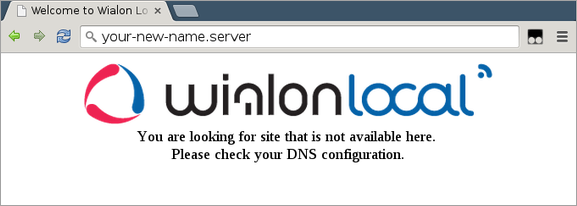
When you first log in to the administration system, you can receive a message that reads: You are looking for site that is not available here. Please check your DNS configuration.
In this case, you should register your new address for the administration system in the /etc/nginx/conf.d/lcm.conf file.
For example:
server_name 192.168.100.231 127.0.0.1 your-new-name.server;


