Notifications
On the Notifications tab, you can configure sending of notifications about the service status changes to external servers, the Telegram messenger or email, as well as enable or disable sending of already created notifications. Apart from the fleet administrators, this tab is available to the users who have the right to create, edit, and delete notifications.
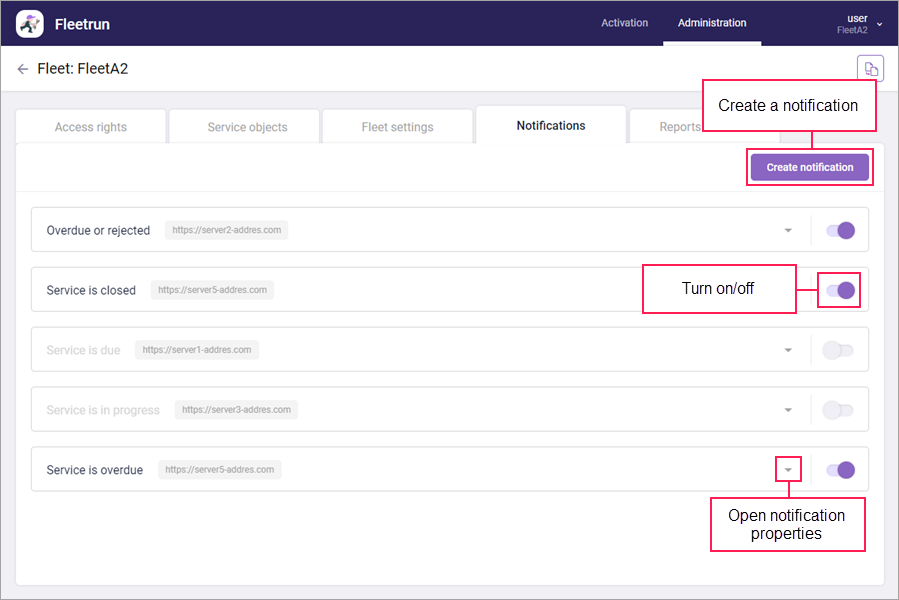
For each notification, its name is displayed in the list, as well as the address of the server, Telegram Bot API path or email. Next to each notification, there is the icon ![]() that opens its properties, and the switch that turns the notification on and off. The icon
that opens its properties, and the switch that turns the notification on and off. The icon  indicates that there are errors while activating notifications. If their number reaches 20, the switch becomes inactive. When you hover the mouse cursor over the icon, a tooltip pops up with information on the number of errors and the total number of activations.
Click Create notification to set up a new notification.
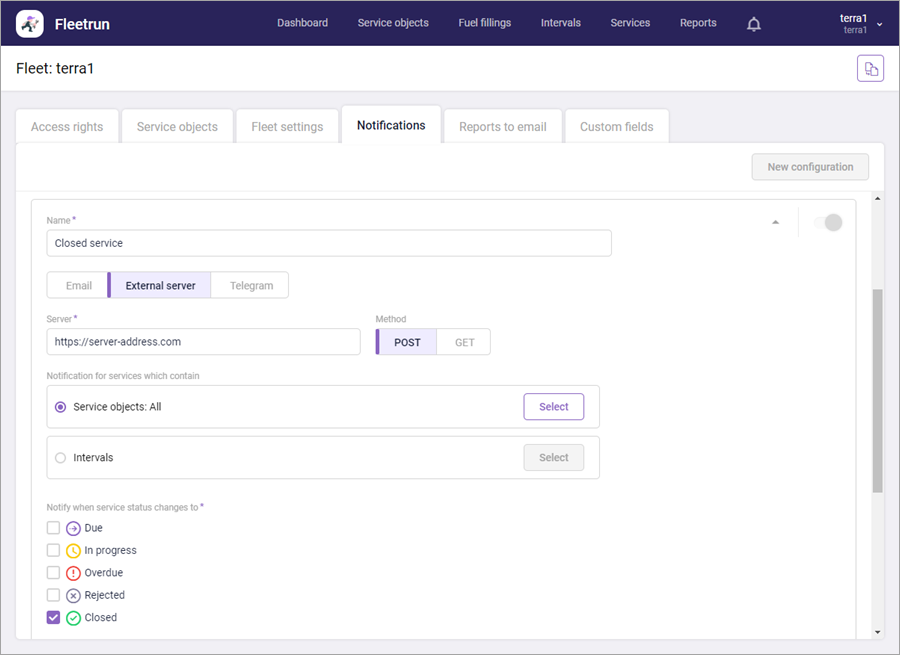
For notifications of all types, specify the properties listed below. The required ones are marked with an asterisk (*).
Name*
The name of the notification. The maximum length is 100 characters.
Notification for services which contain
The selection of service objects or intervals. Use this setting in order to receive notifications only about those services that are created for specific service objects or on the basis of specific intervals. You can select either service objects or intervals. By default, all service objects are selected.
You can only select the service objects added to the fleet, or those for which you are indicated as the creator. To select intervals, the user should have the rights to view and manage them.
To configure a notification for specific items, follow the steps below.
- Activate the required option (Service objects are activated by default).
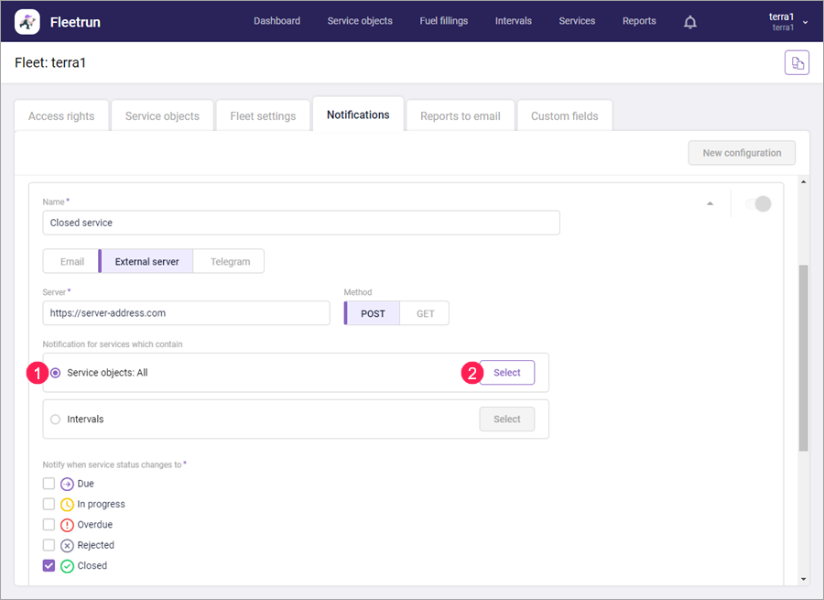
- Click Select. The dialog box that opens next contains two lists: the right one displays the items available for selection, and the left one shows the already selected ones. All items are selected by default, therefore, the list on the right is empty.
- In the list of selected items, mark those about which you don’t want to receive notifications. For a quick search, use the filters by service object type and by unit type in the upper part of the dialog box. To mark all items, click Select all. You can clear the selection manually or by clicking Cancel (cancels the selection of all items).
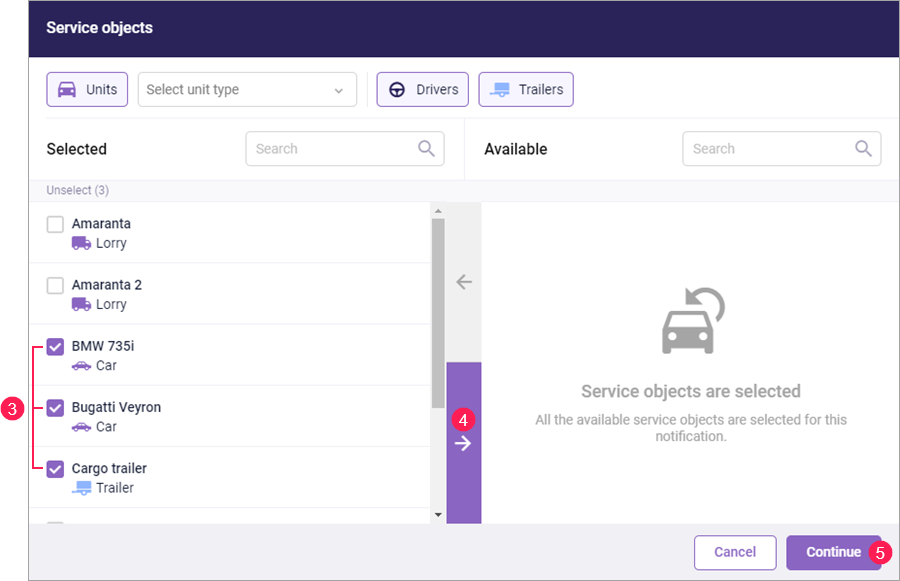
- Click on the right arrow button to move the marked items to the list of the available ones. In this way, only the items about which you want to receive notifications are left in the list of the selected ones.
- Click Continue.
After that, you can see the number of the selected items next to the option name. If one item is selected, you can see its name instead.
Notify when service status changes to*
The notification is sent once the service status changes to one of the selected values. Select at least one status.
Notification text
The maximum length of the notification text is 1000.
Tags
It is possible to add tags to the text. When a notification is generated, tags are converted into the values which they correspond to. Thus, for instance, the Start date tag converts into the start date of service. Click on the tag to add it to the text. The following tags are available: service object name, service name, description, start date, end date, status, term of completion, mileage at the moment of notification sending, engine hours at the moment of notification sending. The selected tag is displayed on a new line and an editable description is added before it.
The rest of the settings differ depending on the selected type of notification (see below).
After filling in the fields, you can check the sending of the notification. To do this, click Test. If the notification cannot be sent, a message with a return code appears next to the button.
Press Save. To delete a notification, open its properties, click the Delete button and confirm the action in the window that opens.
Sending email notifications
Select the Email notification type and specify the properties listed below. The required ones are marked with an asterisk (*).
| Property | Description |
|---|---|
| Recipient address №1* | The email address of the main recipient. |
| Subject* | The subject of the email. When you receive a notification, the name of the service object is automatically added to the subject line. |
| Recipient address №2/Recipient address №3 | The email addresses of other notification recipients (if necessary). |
SMTP server | Activate this option if you want notifications to be sent from your SMTP server. Specify the address of the server, port number, email of the sender, user name, and password. |
When Fleetrun works with Wialon Local, the notifications are sent only from your own SMTP server.
Sending notifications to an external server
Select the External server notification type and specify the properties listed below. The required ones are marked with an asterisk (*).
| Property | Description |
|---|---|
| Server* | The server to which the notification should be sent. The maximum length is 256 symbols. |
| Method | The method of sending the notification. The available options are POST and GET. POST is selected by default. |
Sending notifications to Telegram
Select the Telegram notification type and specify the Bot key and Channel ID. The maximum length of the text in each of the fields is 256 characters.
To configure sending of notifications to Telegram, follow the steps below.
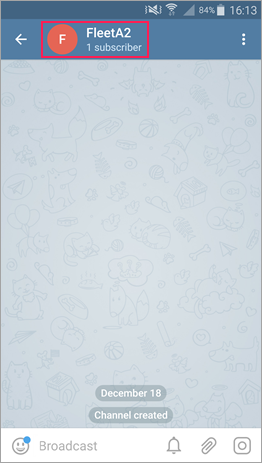
Create a channel
-
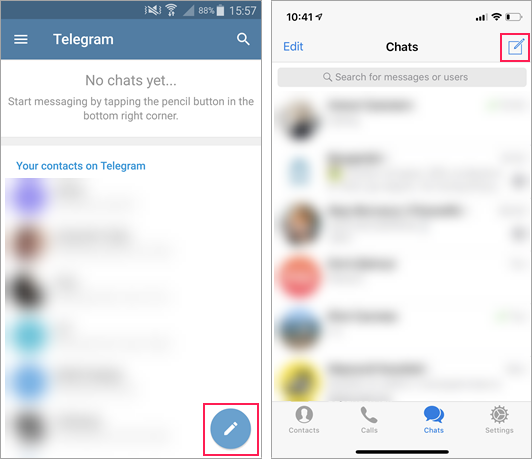
Tap the Pencil icon.
-
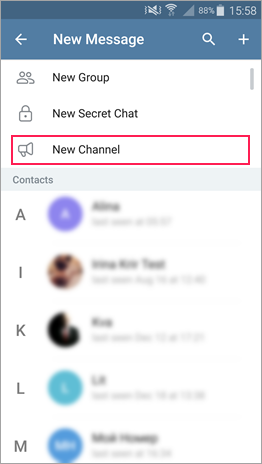
Select New Channel.
-
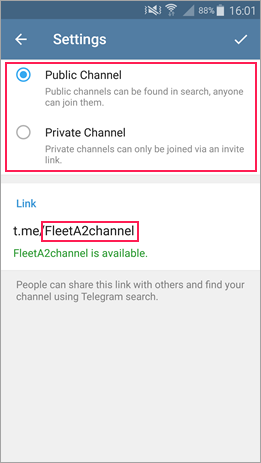
Specify the name of the channel.
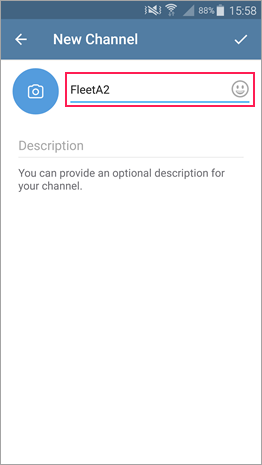
-
Select the type of the channel. For a public channel, specify the name of the link. For a private channel, the link is generated automatically.
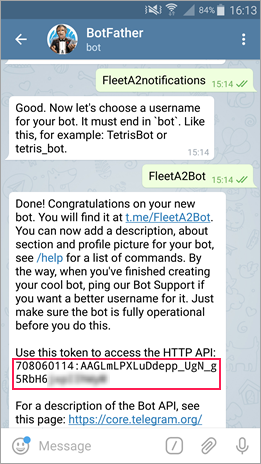
Create a bot
-
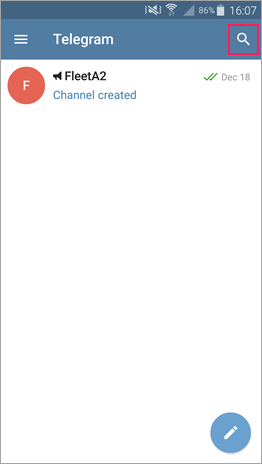
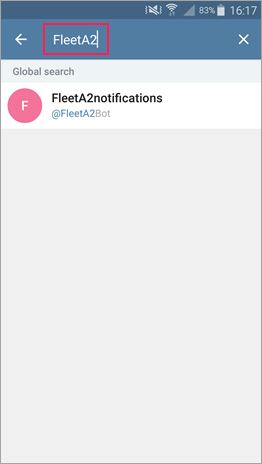
Tap the Search icon.
-
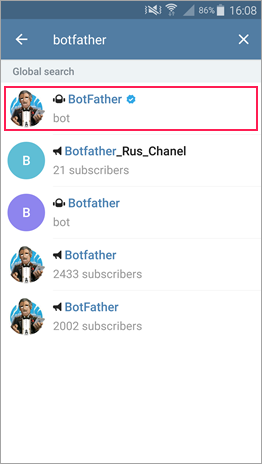
Find the bot named BotFather.
-
Tap Start and follow the instructions.
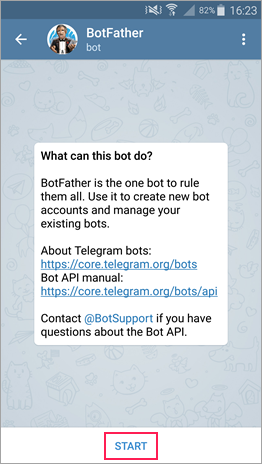
-
The received token must be specified in the Bot key field in Fleetrun.
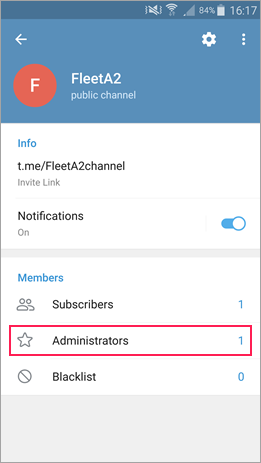
Add the bot to the channel
-
Open the channel created earlier and tap its name (Name → Info in iOS).
-
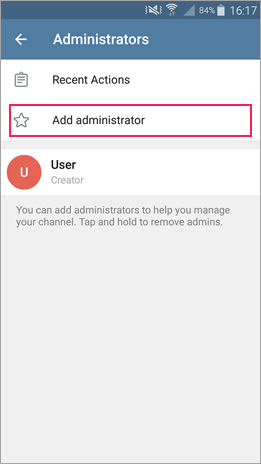
Select Administrators (Admins in iOS).
-
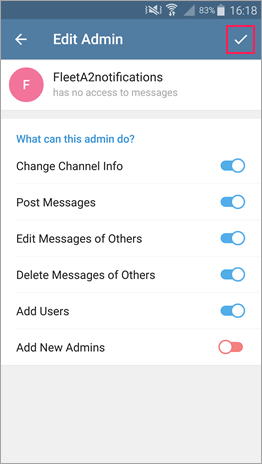
Tap Add Administrator (Add Admin in iOS).
-
Find the required bot using the Search field.
-
Confirm bot adding (Done in iOS).
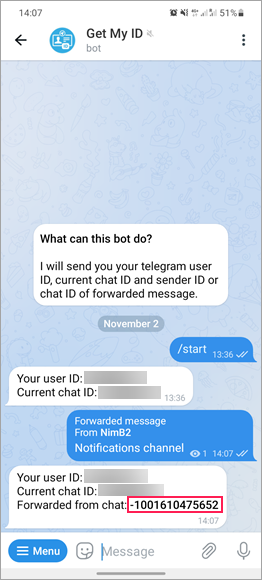
Specify the channel ID
For a public channel, type its link without t.me/ in the Channel ID field in Fleetrun.
To find out the ID of a private channel, use the getmyid_bot bot. To do this, open your private channel and forward any post from it to the bot chat. The response of the bot will contain your channel ID.