Geofence Groups
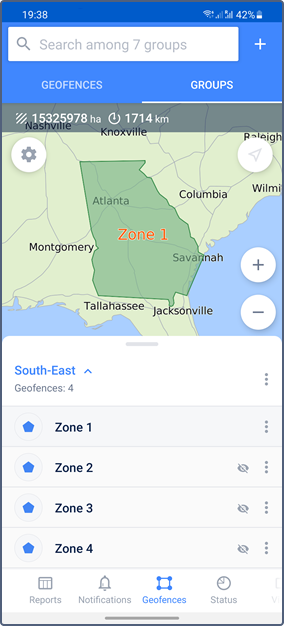
In the Groups mode, you can see the names of groups and the number of geofences belonging to them. Tap the row with the name of the group to see the list of geofences.

In this mode, you can create geofence groups and perform the following actions with them: editing, deleting, creating notifications about crossing the borders of geofences belonging to groups.
Creating groups
To create a geofence group, follow these steps:
-
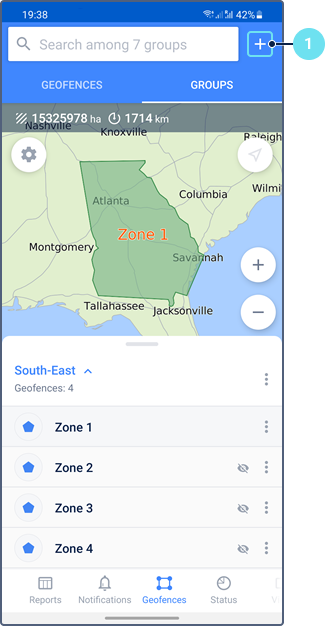
In the Groups mode, tap the icon
 to the right of the search bar.
-
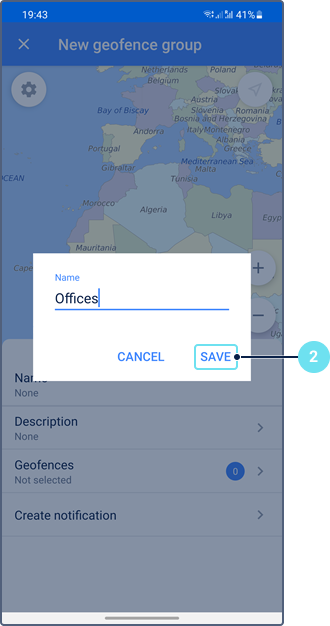
Type in the name of the group and tap Save.

-
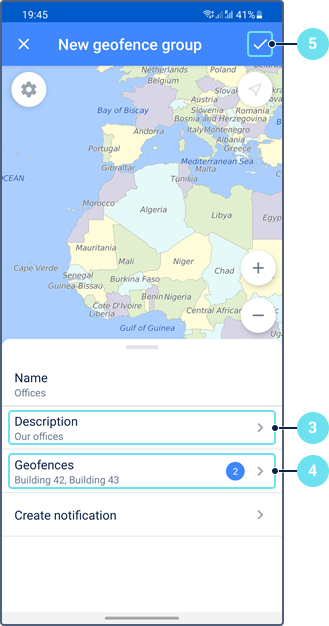
If necessary, specify the description of the group.
-
Select the geofences that should belong to the group.
-
Save the changes.

Managing groups
To open the menu of the geofence group, tap the icon  in its row. Depending on the access rights, the menu can contain the following actions:
| Icon | Action | Description |
|---|---|---|
| Show description | Show or edit the description of the geofence group. To edit the description, tap the icon in the upper-right corner. | |
| Edit geofence group | Edit the properties of the geofence group. This action allows you to change the name and description of the group as well as the number of geofences belonging to it. Besides, you can edit the description using the Show description action. | |
| Make invisible | Hide on the map all the geofences belonging to the group. The geofences are displayed again if you tap their group in the list. | |
| Create notification | Create a notification template of the Geofence type. To do this, follow these steps:
A notification created for a geofence group is triggered when any of the selected units visits or leaves any of the geofences included in the group. | |
| Delete | Delete the geofence group. Deleting the group does not delete the geofences belonging to it. |