Notifications
On the Notifications tab, you can perform the following actions:
- view and delete the received notifications
- create, edit, and delete the notification templates
- enable and disable notification sending for each template
The tab consists of two sections: History and Templates.
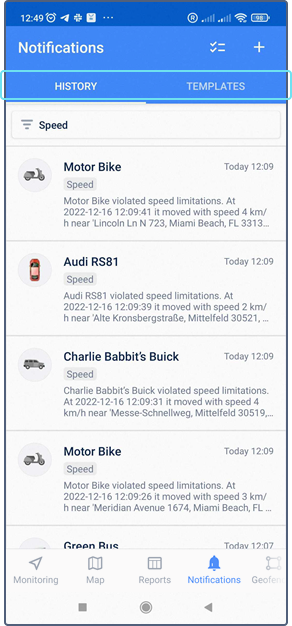
A blue dot in the navigation bar indicates that you have unread messages. If the application is minimized, the number of new notifications is shown on its icon.
To receive notifications created in the web version of the monitoring system, select the Send mobile notification action.
Creating notifications
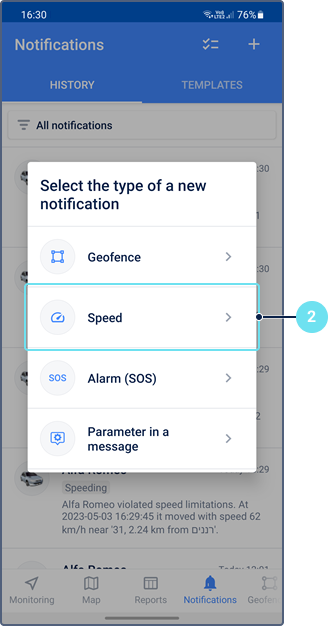
You can create four types of notification templates in the application: Geofence, Speed, Alarm (SOS), Parameter in a message.
You can also create notifications for geofences and their groups on the Geofences tab.
To create a notification template, follow these steps:
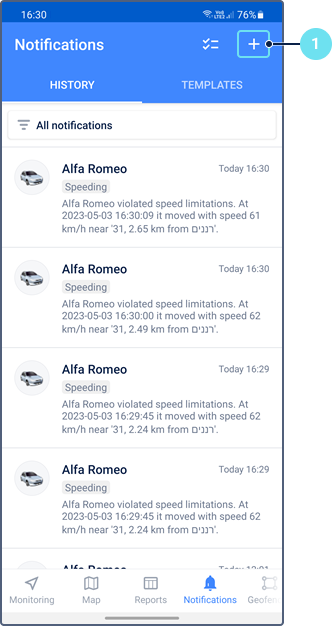
- Tap the icon
 in the upper-right corner.
- Select the trigger condition, that is, the type of notification.
- Specify the name of the notification template.
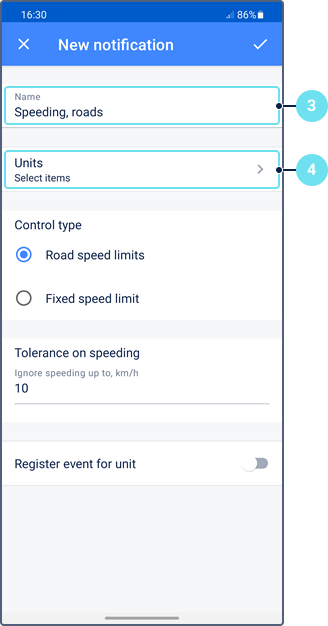
- Go to the selection of units or unit groups for which you want to create the notification template.
- Select the required items in the list.
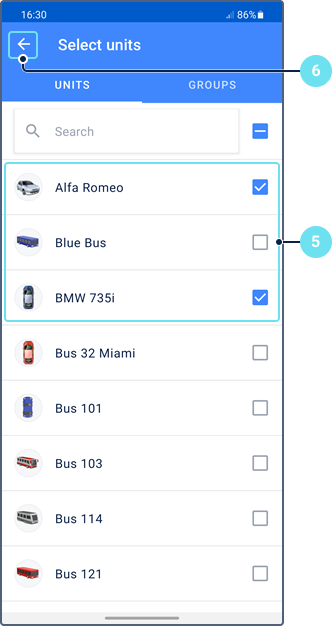
- Go back to the notification template form.
- If applicable, configure additional trigger conditions.
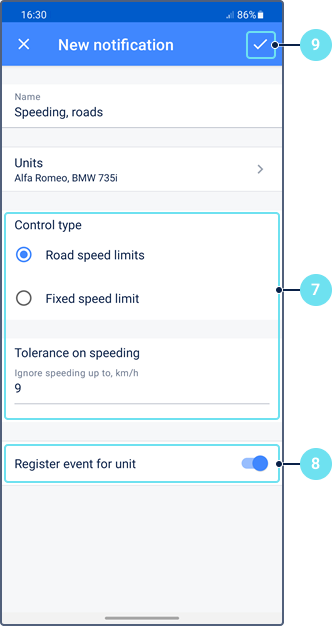
- If necessary, activate the Register event for unit option. The option allows you to register the triggered notifications as events that can be available on the History tab of the unit and or in reports.
- Tap the icon
 .
.
After this, the created template is saved in the resource of your account and is shown in the Templates section.
Notification history
This section contains a list of all the received notifications (no more than 200). To display only the notifications with a specific name, select it in the filter above the list.
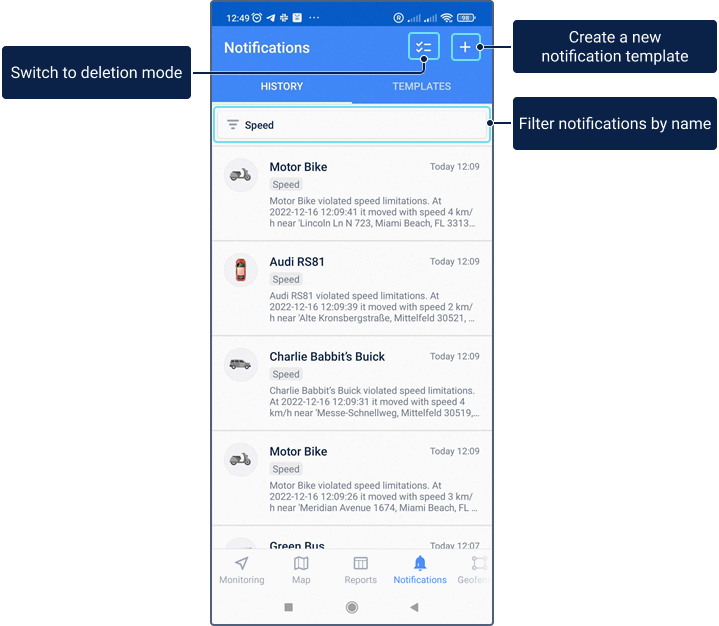
Tap the line with a notification to read the full text and see the location of the unit at the time of its activation. A long tap on the notification text copies it to the clipboard. In the same way, you can copy the notification from the list on the Notifications tab.
Deleting received notifications
To delete the received notifications, follow the steps below.
- Tap the icon
 .
. - Select the necessary notifications. To mark all the notifications, select the check box above the list.
- Tap the icon
 again to confirm the deletion, or the cross-shaped icon to cancel the action.
You can also delete individual notifications directly from the list by swiping the line with the notification to the right or left.
Notification templates
This section contains a list of all the available notification templates created in the application and web version of Wialon. You can see an icon of the selected notification type to the left of the template name.
The list of templates is formed as follows:
- If you are signed in to the application as a user who is the account creator, the list shows templates from the resource of this account and that of the parent account (if you have access).
- If you are signed in to the application as a user who is not the account creator, the list shows notification templates from the resource of the parent account (if you have access).
To enable the notification sending, activate the switch next to the name of the template.
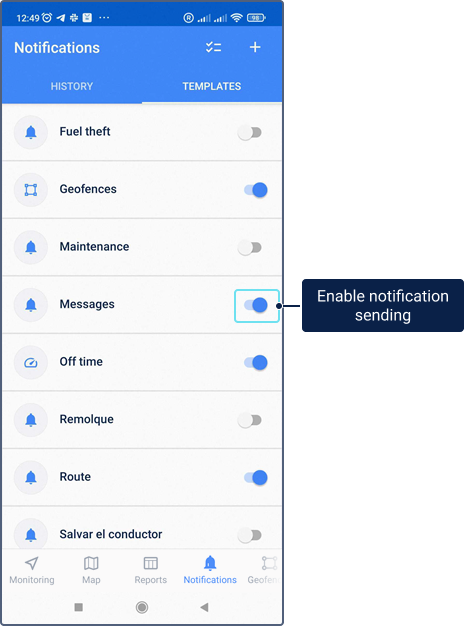
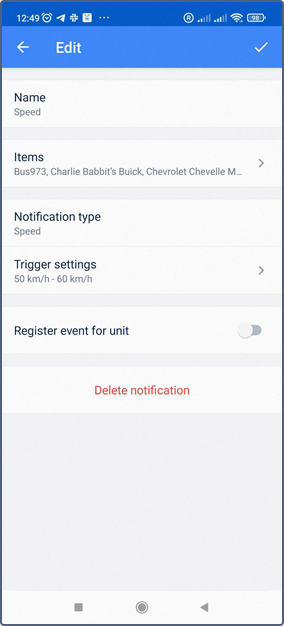
To edit or delete a notification template, tap the line with it in the list, make the required changes or tap Delete notification, respectively, and confirm the action.
Editing is available only for those types of notification templates that can be created in the application.
