Sensors
To view information on the Sensors tab, the user must have the Read only preset of access right. To make and save changes on the tab, the user must have full access.
Also, one of the sensor services should be enabled: Sensors: Custom sensor or Sensors: Engine ignition sensor.
On this tab, you can create, copy, and delete sensors for the unit, configure their properties, visibility, and order.
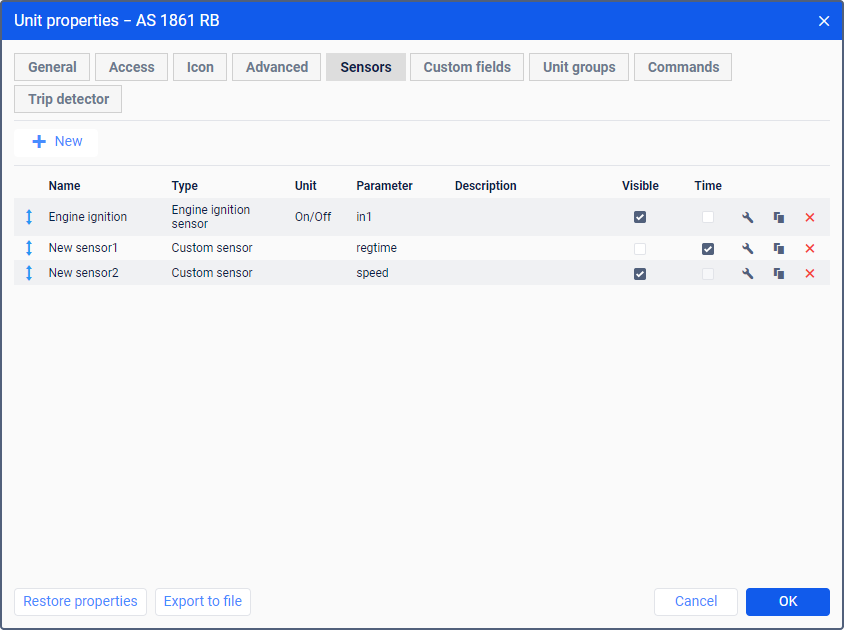
To add a new sensor, click on the New ( ) button and specify the required properties. If you have already created similar sensors, you can export them from other units or a file using the import and export tool.
The maximum allowed number of sensors is specified on the Account tab of the user settings.
The created sensors are displayed in the table with the following columns:
| Column | Description |
|---|---|
Name, Type, Unit, Parameter, Description | The values of the same-name fields, which are specified in the sensor properties. |
Visible | The option which allows you to hide or show the sensor and its values in some places of the interface:
For example, you can hide validation sensors which are used to get intermediate values. |
| Time | The option which allows you to display the sensor value with the time since this value was received. For example, "Ignition: On (15 minutes 35 seconds ago)". After receiving a new value, the time is counted again. The option works if the following conditions are met:
|
| Open the sensor properties. |
| Copy the sensor with its properties. When creating a sensor this way, you cannot select the source sensor as a validator. |
| Delete the sensor. |
To move a line with a sensor up or down in the list, drag the line using the icon  . The order of sensors configured on the tab is also taken into account in those places of the interface where sensor values are shown (see the description of the Visible column above).