Installing Wialon Local on AWS
To install Wialon Local on AWS (Amazon Web Services), follow the steps below.
-
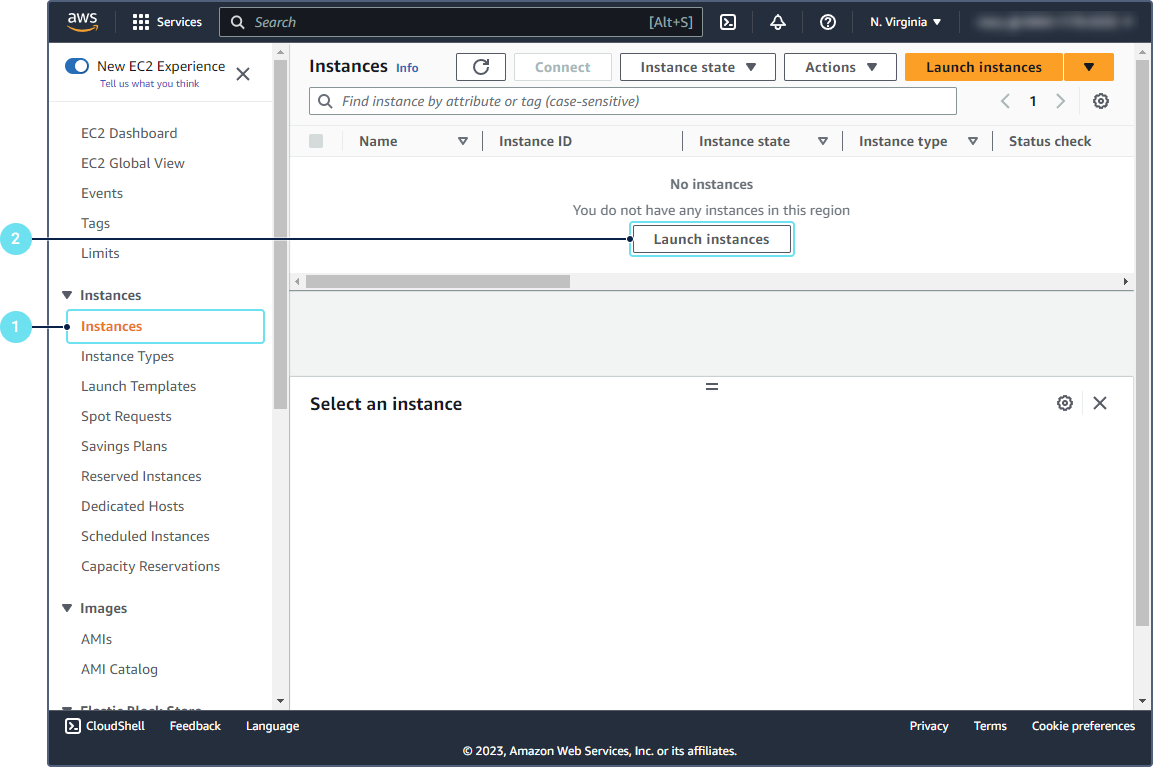
Open the EC2 console and select the Instance tab.
-
Click Launch instance.
-
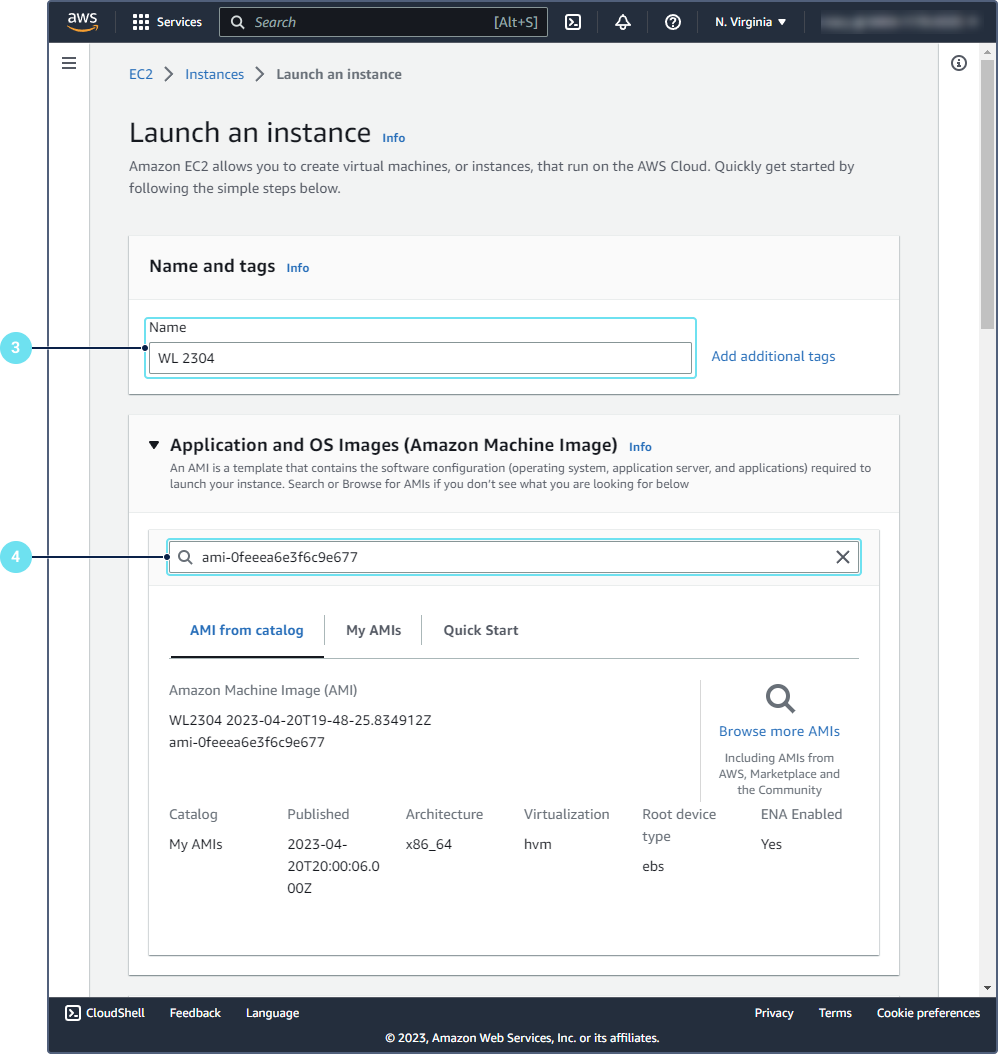
Specify the name of the new instance.
-
Find the Wialon Local image by pasting the link provided by your personal manager or technical support into the search field. Select the found image (the Select button).
-
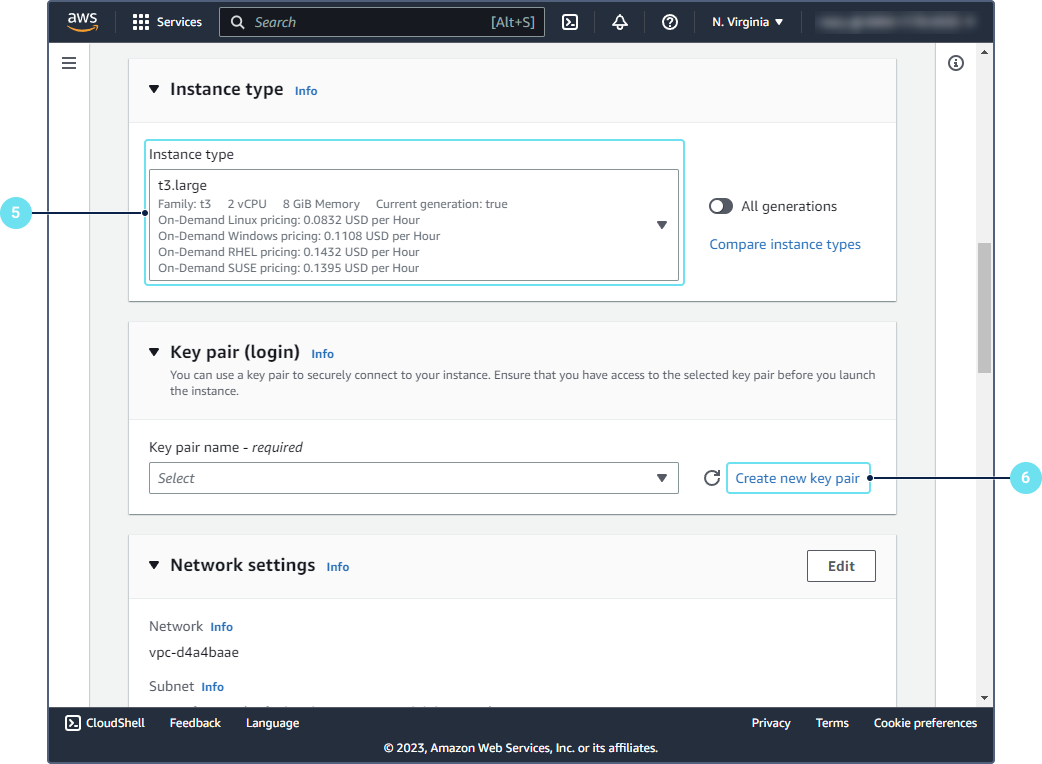
Select the instance type depending on your service requirements.
Number of units Instance type 100
t3.large
500
c5a.2xlarge
1000
c5a.2xlarge
2000
c5a.4xlarge
4000
c5a.4xlarge
10 000
c5a.8xlarge
15 000
c5a.8xlarge
20 000
c5a.16xlarge
-
Create a new key pair.
-
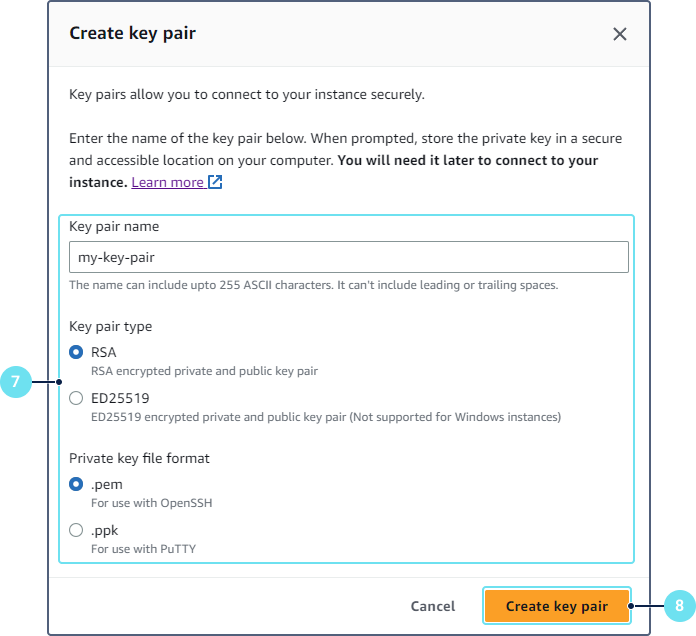
Specify the name and settings of the key pair (you can select the default settings).
-
Click Create key pair and save the key pair.
-
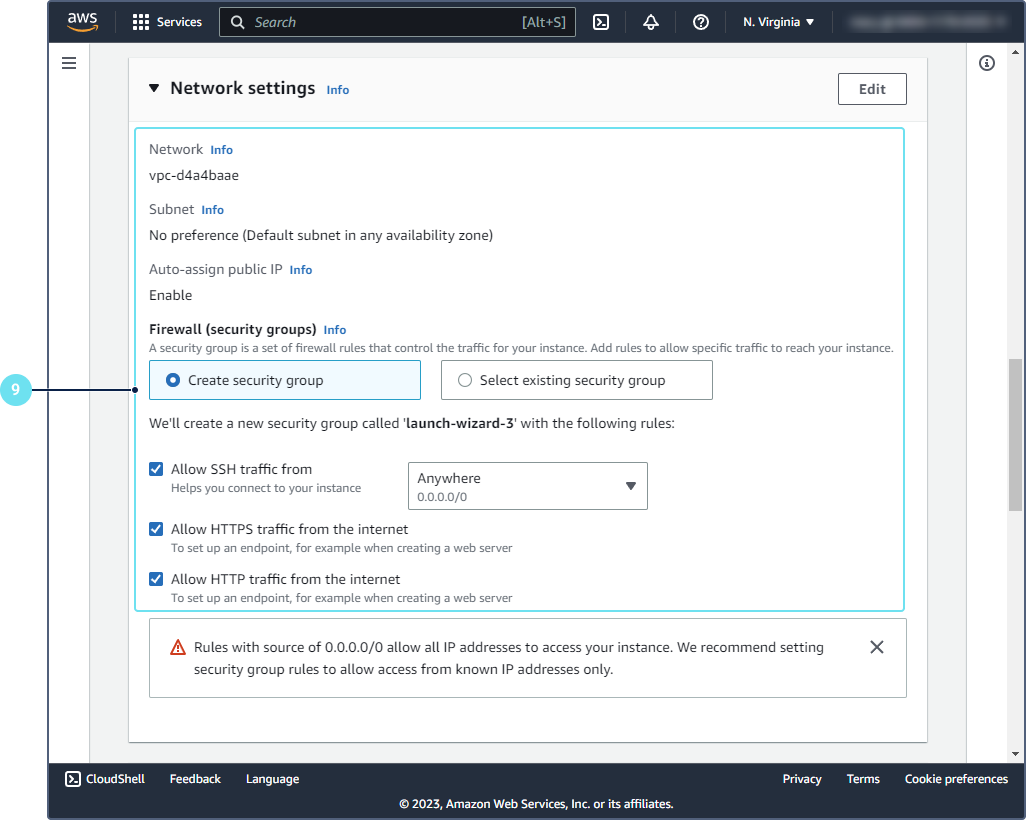
Specify the initial network settings.
-
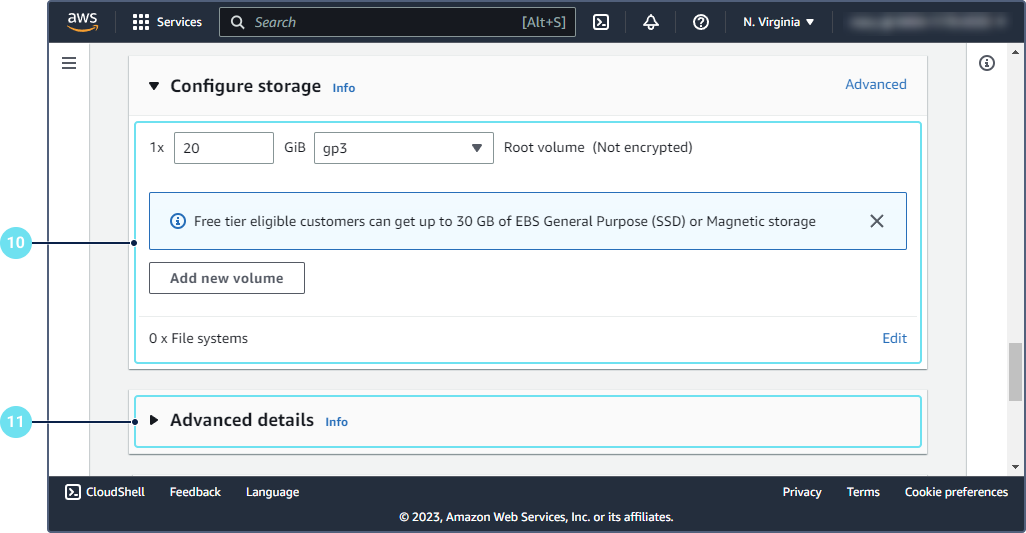
Select the storage size and type.
-
Specify the advanced details (optional).
-
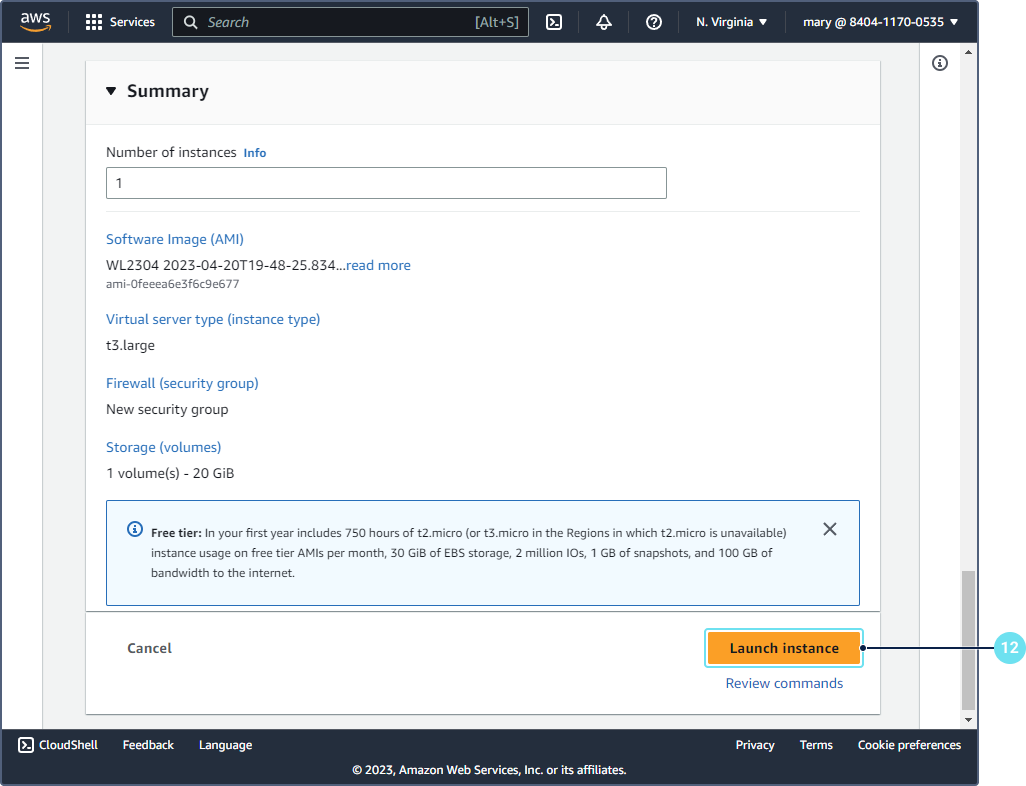
Launch the instance.
-
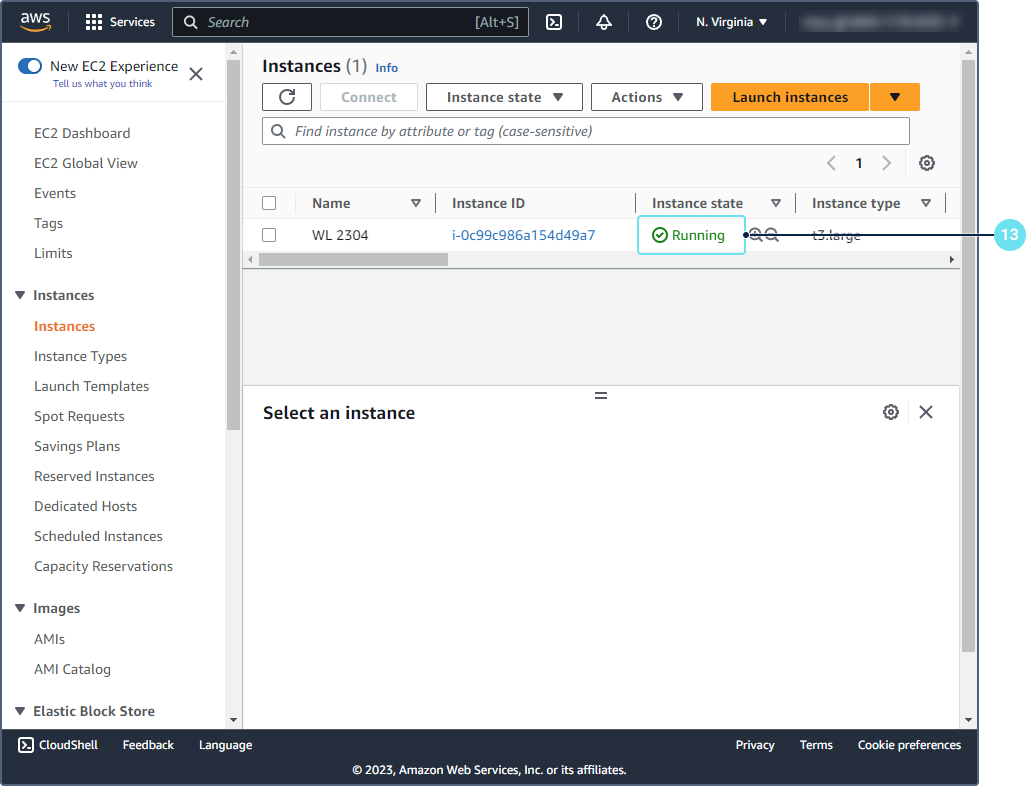
Make sure the instance is running.
-
Select the instance and go to the Security tab.
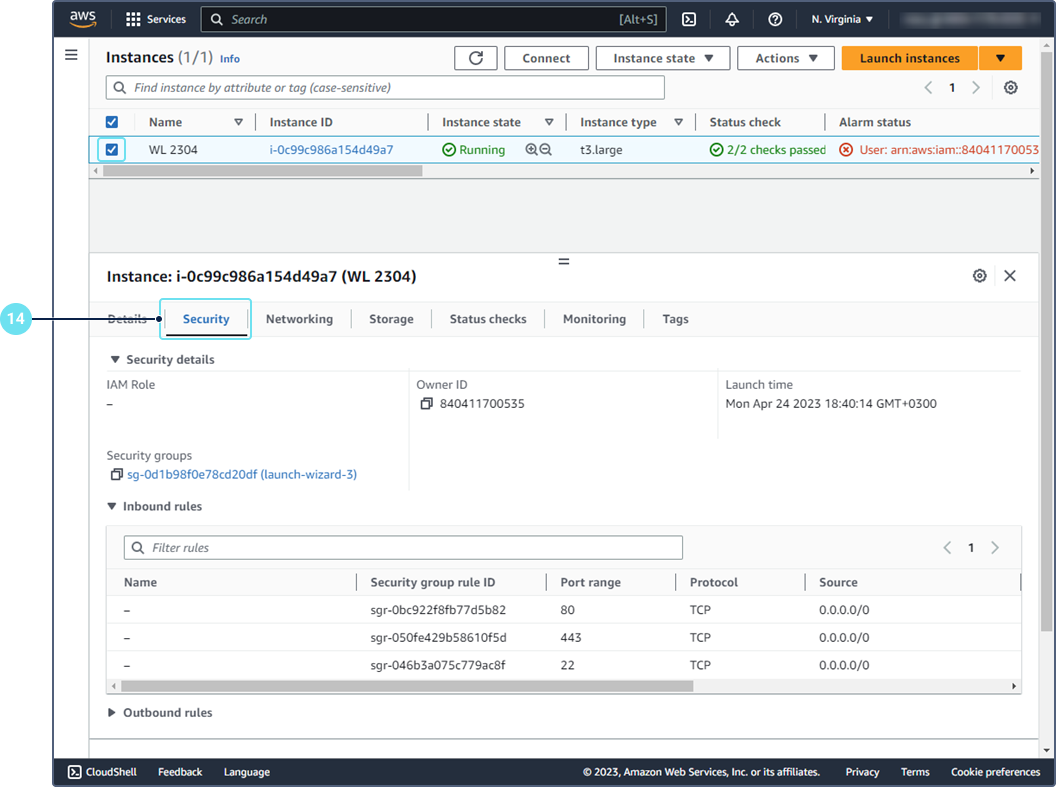
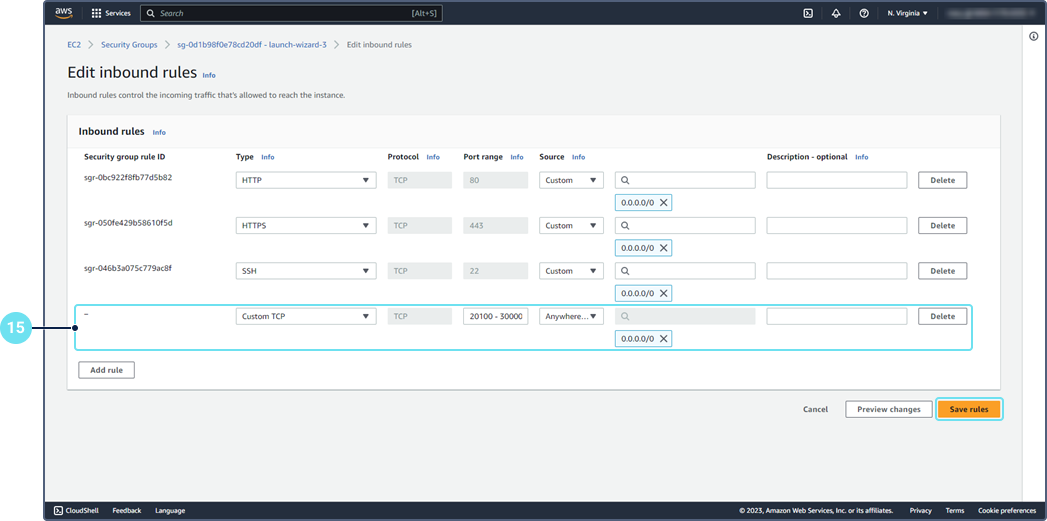
-
Edit the rules for incoming traffic (the Inbound rules section). Add a rule with ports 20 100–30 000 for the hardware.
-
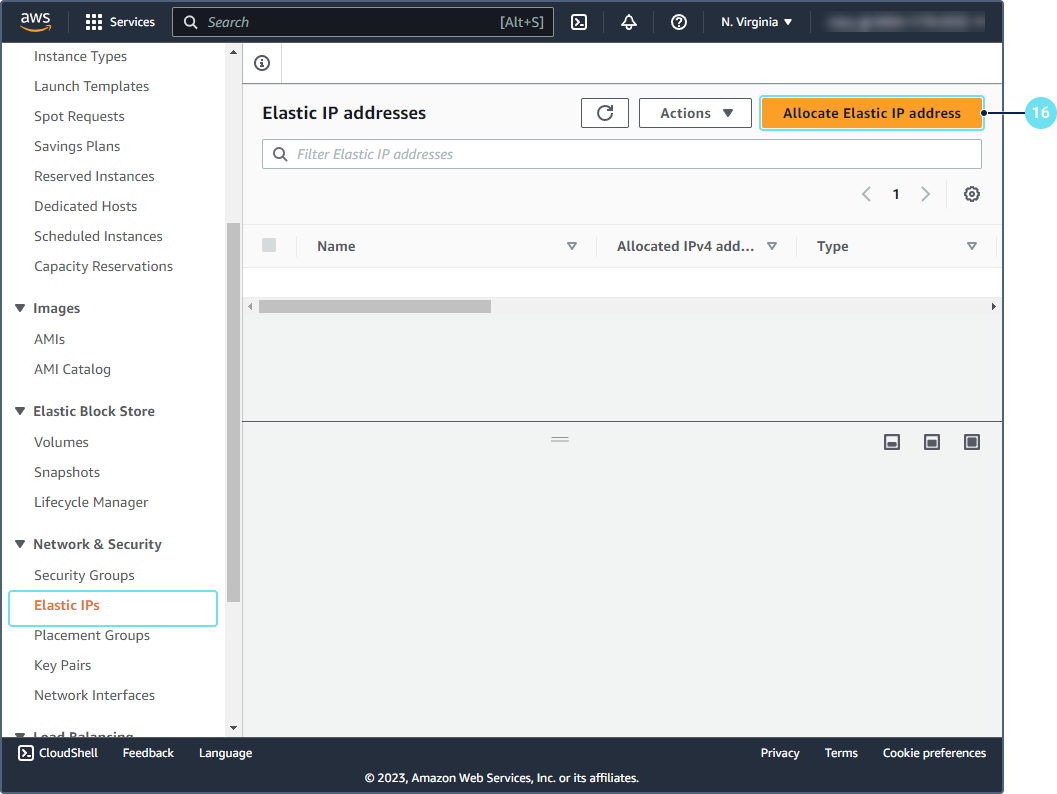
Go to the Elastics IPs tab and click Allocate Elastic IP address.
-
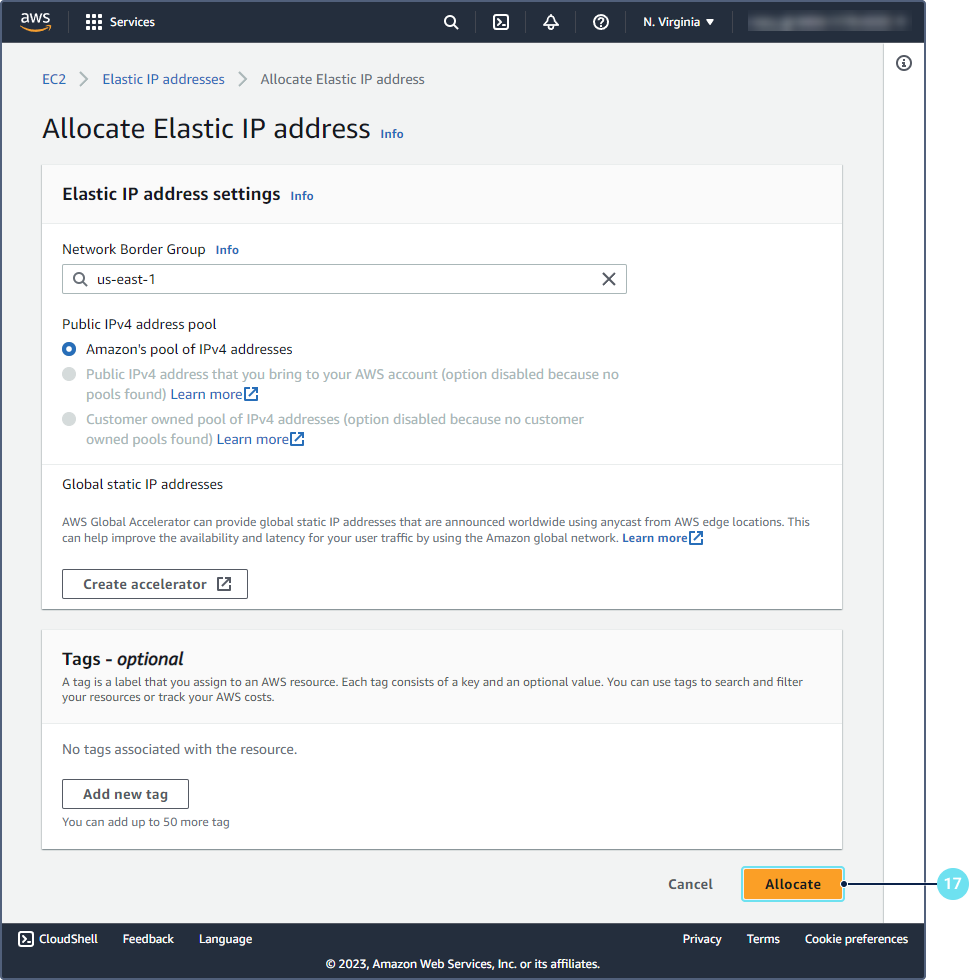
Click Allocate. In this way, you get an allocated IP for Wialon Local.
-
In the Actions menu, select Associate Elastic IP address.
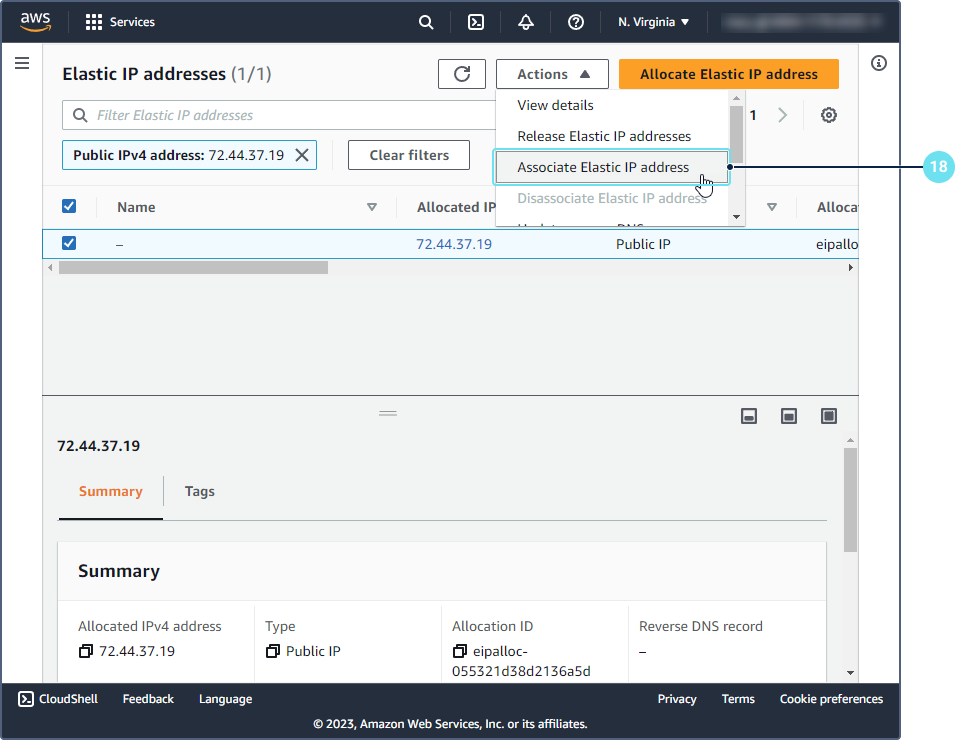
-
Select the required instance and IP address.
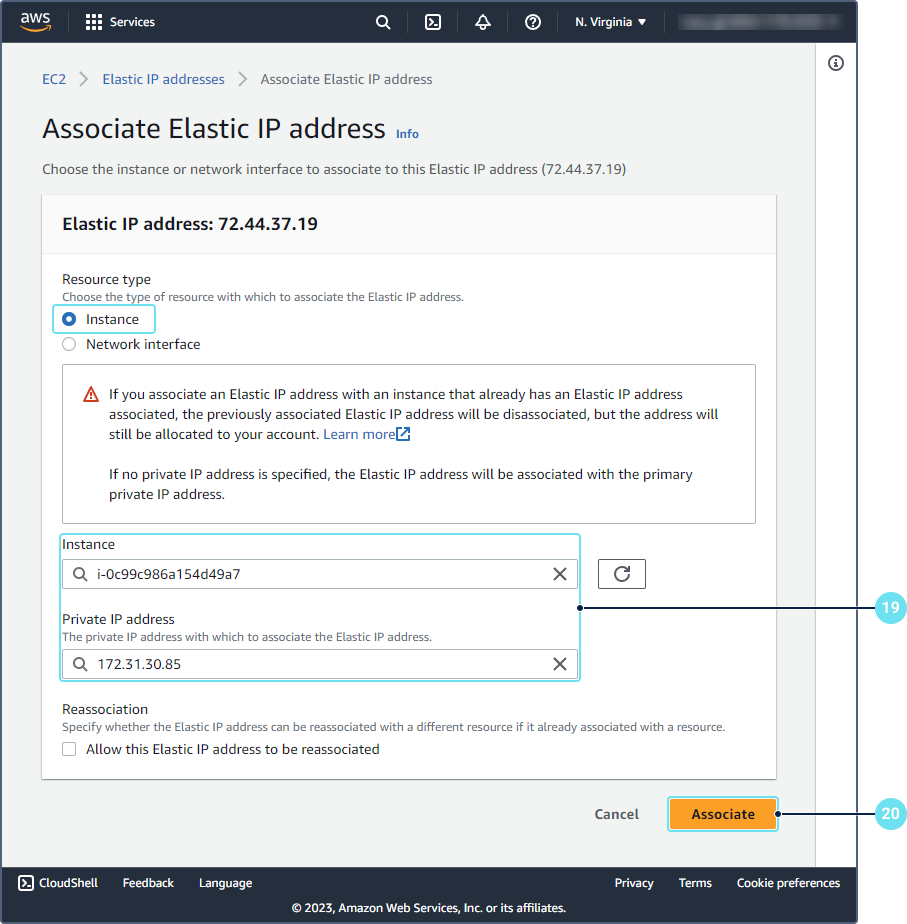
-
Click Associate.
As a result, Wialon Local is installed on AWS with the allocated IP address.
For further information, see AWS documentation.