Creating Notifications
To create notifications, you should have:
- the Use object in notifications, jobs, routes, retranslators access right to the unit;
- the Create, edit, and delete notifications access right to the resource;
- the access rights to the actions selected for the notification (for example, to send a command, register events, change access rights, and so on).
If after creating the notification the necessary access rights to the unit have been disabled or the unit has been deactivated, then the notification stops working for such units. In both cases, while editing it, you can see a warning about the lack of the required access rights to the unit.
To create a notification, do the following:
-
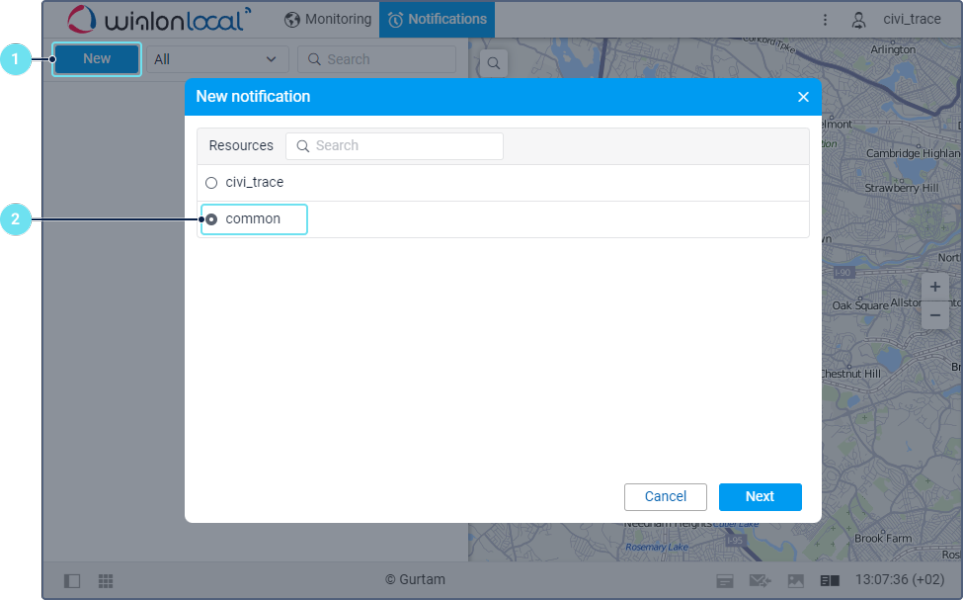
Click Create on the Notifications tab.
-
Select the resource in which the notification should be stored.
-
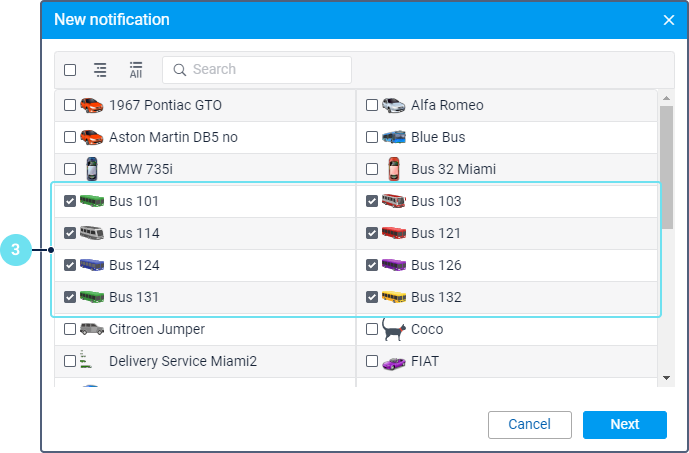
Select the unit or units for which you want to create the notification. The units are selected in the same way as when creating jobs.
-
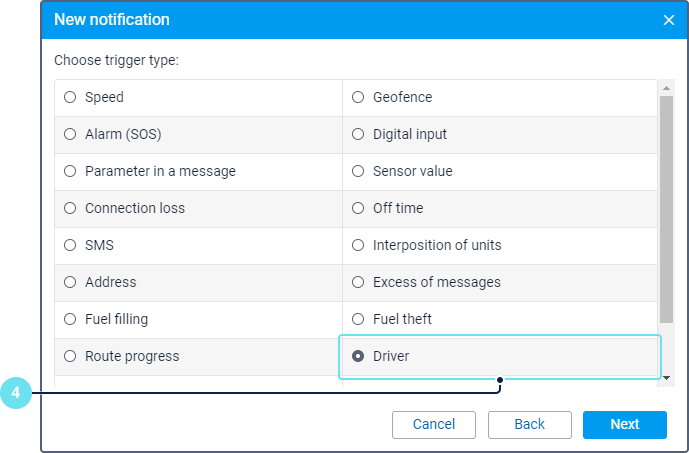
Select the notification type.
-
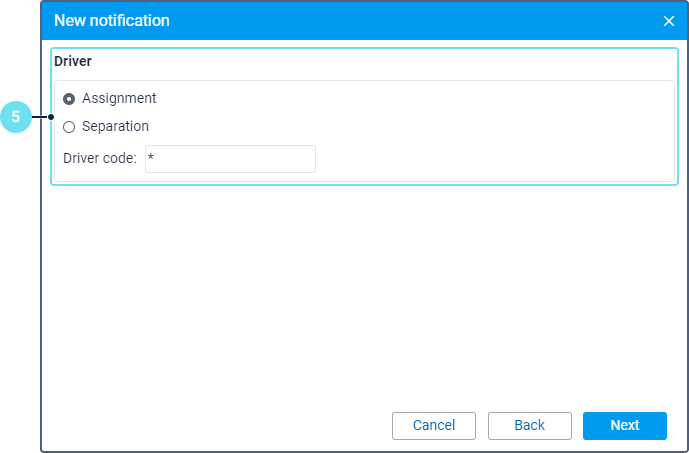
Set the parameters which depend on the selected notification type and are described on the Notification types page in detail.
-
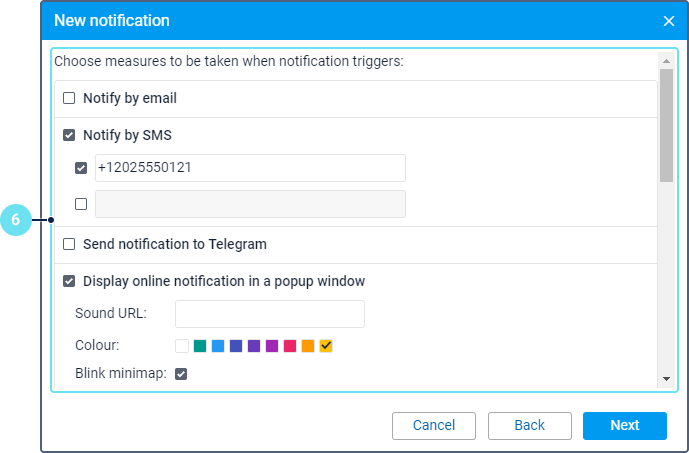
Select one or several actions which should be performed after the notification is triggered. It can be sending the notification in different ways, registering an event or performing an action with system objects.
-
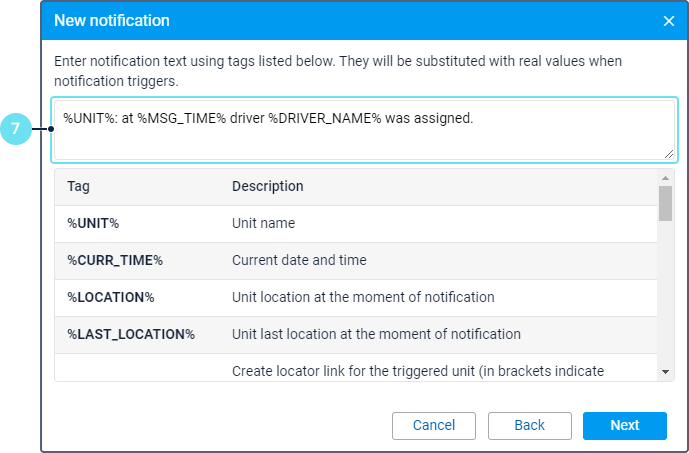
Enter the notification text. This step applies only to those notification types that don’t suppose sending text.
-
Specify the name of the notification and the parameters related to the time and duration of its triggering. Click OK to save the changes.
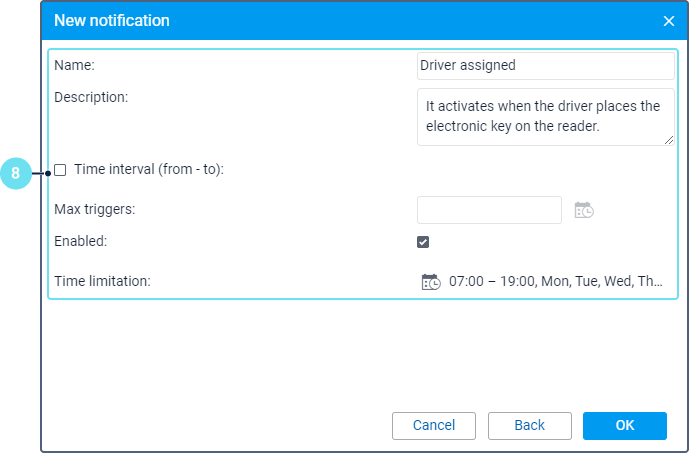
As a result, the created notification is shown in the list and is enabled by default. You can disable it, change its settings and perform other actions.