Restoring resource contents
The Restore contents feature automatically creates daily backups of your resource objects in WLN format. This allows you to restore resource objects that were accidentally deleted or modified.
Restorable and non-restorable objects
You can restore the following resource objects:
- geofences
- drivers
- trailers
- passengers
- jobs
- notifications
- report templates
You can’t restore:
- groups of drivers
- groups of trailers
- groups of passengers
- groups of geofences
- resource contents of the top account
You can’t restore custom icons (images) of geofences using automatic backups. To prevent data loss, we recommend creating geofence backups manually on a regular basis by exporting them to KML or KMZ files.
Where to find the restore function
The function of restoring contents (the Restore contents button) is available in the properties of:
- account for restoring the contents of the same-name account resource which was created automatically with the account;
- resource for restoring the contents of the resource created manually.
Time limitations
You can restore the resource contents saved no more than 15 days ago. If there have been no changes with the resource for more than 15 days, you can restore the last saved contents.
You can’t restore the contents that were created and deleted the same day because automatic backup is made once a day.
Restoration process
To restore the resource contents, follow these steps:
-
Open the Accounts section in CMS Manager.
-
Click on the name of the required account or resource. To open the list of resources, activate the Resources switch in the Search block and click on the Search button.
-
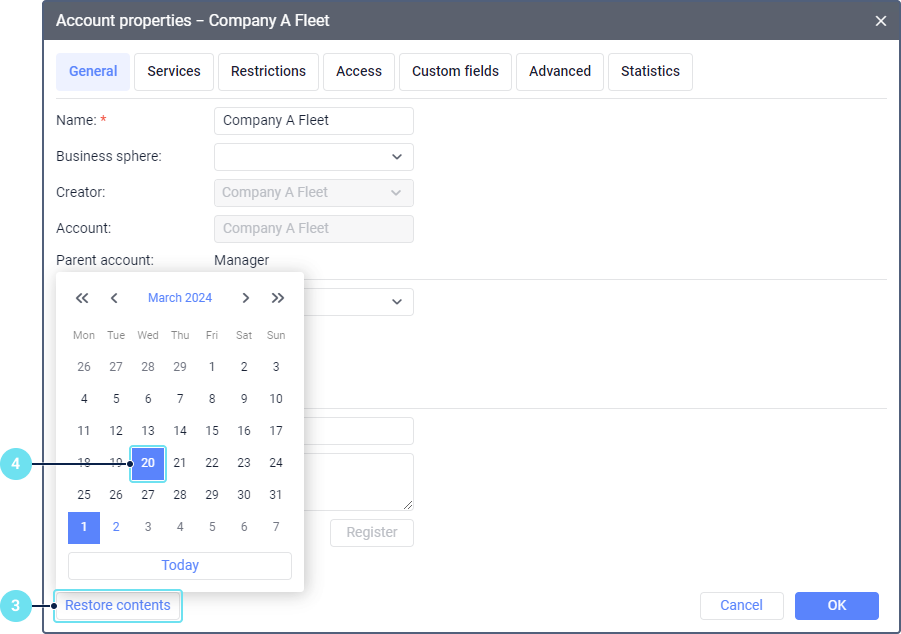
Click on the Restore contents button.
-
In the calendar, select the date for which you want to restore the resource contents. The dates with the available saved changes are highlighted in blue.
-
In the import window that opens next (the mechanism of restoring is similar to import from WLP), select the import type.

-
Select the objects you want to restore.
-
In the Destination objects section, select the resource to which you want to add the restored objects. The initial resource is selected by default. To select several resources, hold down Ctrl. If necessary, use the filter and dynamic search.
-
Click OK.
The selected objects are restored to the destination resource. Restored geofences, drivers, trailers, and passengers are not automatically returned to the groups they used to be added to before deletion. You can manually add them to their respective groups after restoration.