Fleetrun
Hecterra
NimBus
Other apps
Wialon for Android/iOS
Logistics
Wialon Local
Wialon Hosting
WiaTag
Configurator
LeaseControl
en
Contents
Creating Notifications
  • notifications

  Prerequisites

The user who creates the notification and the creator of the resource in which it will be stored must have the following access rights:

  • View notifications and Create, edit, and delete notifications access right to the resource;
  • Use unit in jobs, notifications, routes, retranslators access right to the unit;
  • the access rights to the actions selected for the notification (for example, to send a command, register events, change access rights, and so on).

The users who have the access right Create, edit, and delete notifications to the resource where the notification will be stored must also have all of the listed rights to the units.

If after creating the notification the necessary access rights to the unit have been disabled or the unit has been deactivated, then the notification stops working for such units. In both cases, while editing it, you can see a warning about the lack of the required access rights to the unit.


To create a notification, do the following:

There are no pictures in the gallery


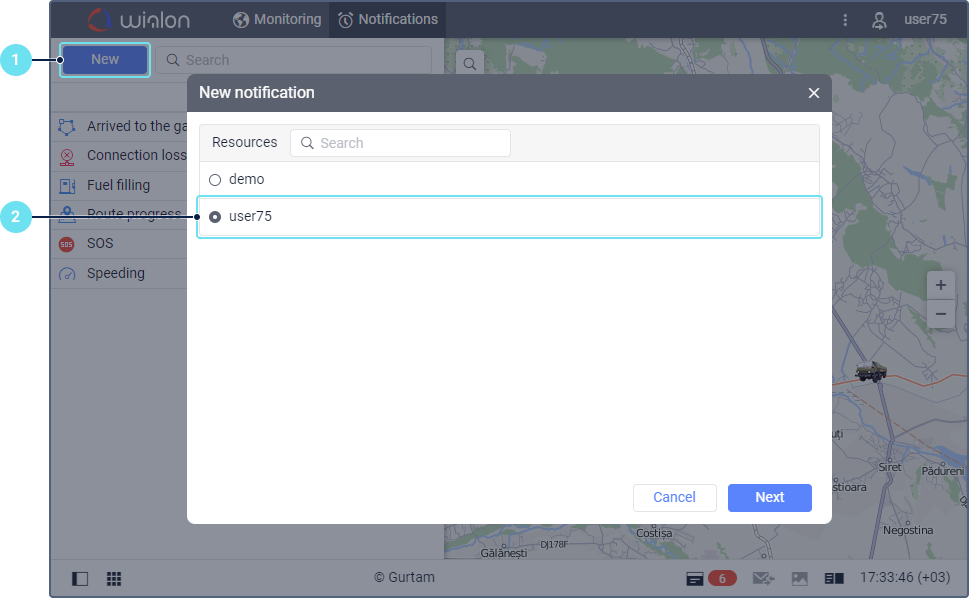
  1. Click New on the Notifications tab.
  2. Select the resource in which the notification should be stored, if you have more than one resource available.
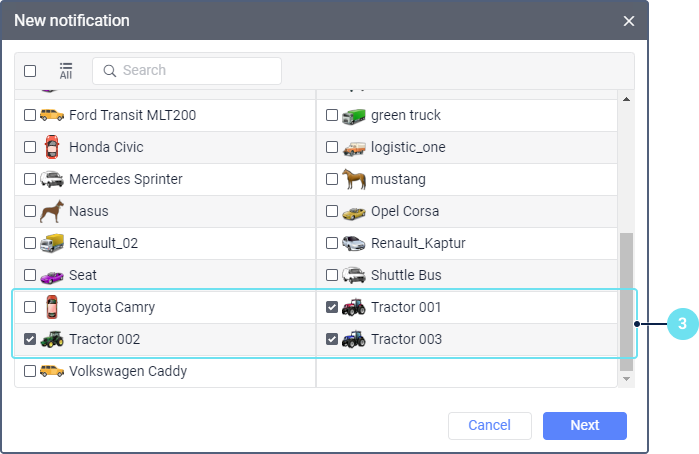
  3. Select the unit or units for which you want to create the notification. The units are selected in the same way as when creating jobs.
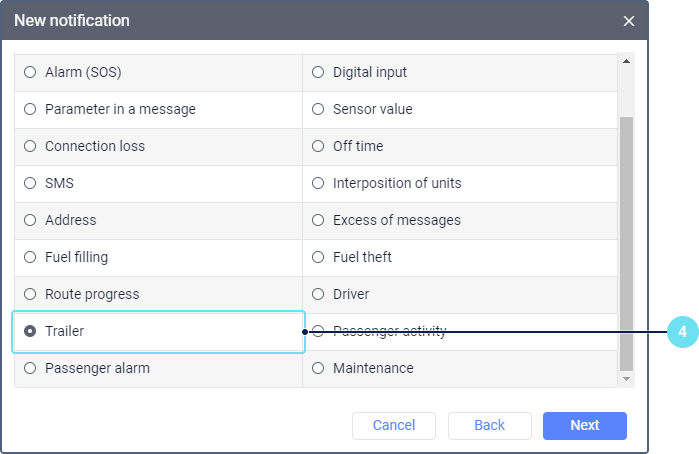
  4. Select the notification type.
  5. Set the parameters which depend on the selected notification type and are described on the Notification types page in detail.
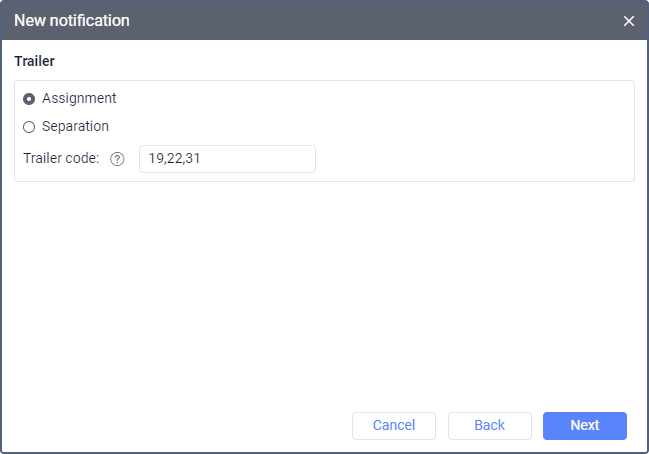
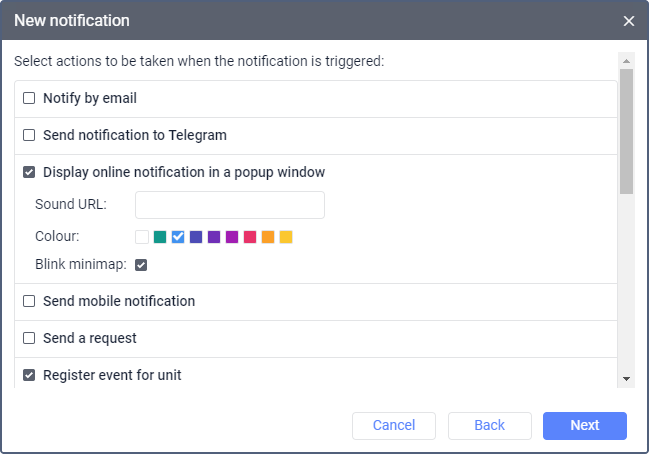
  6. Select one or several actions which should be performed after the notification is triggered. It can be sending the notification in different ways, registering an event or performing an action with system objects.
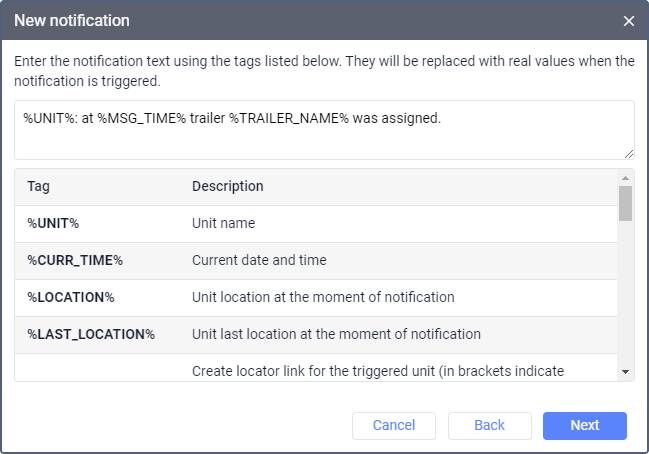
  7. Enter the notification text. This step applies only to those notification types that don't suppose sending text.
  8. Specify the name of the notification and the parameters related to the time and duration of its triggering. Click OK to save the changes.
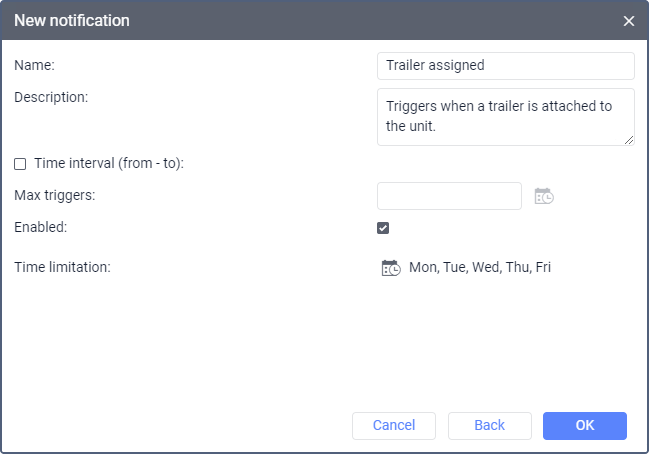
As a result, the created notification is shown in the list and is enabled by default. You can disable it, change its settings and perform other actions.

If you find a mistake in the text, please select it and press Ctrl+Enter.
Thank you for your feedback!
Report a mistake
Text with the mistake Comment
Maximum 500 characters