Using editor mode
Who can do it: Service provider
Where: Wialon Platform FleetSpace
Editor mode in Wialon Platform FleetSpace is a tool for service providers that allows customizing and configuring a customer workspace.
Enabling the editor mode
To enable the editor mode and turn the user interface from a viewing state into an editing state:
-
Log in as a service provider to the customer account in Wialon Platform FleetSpace.
-
(Optional): In Wialon Platform FleetSpace, select the page you want to edit. You can switch between pages after enabling the editor mode using the button
 in the toolbar.
 -
Click the icon
 in the sidebar to enable the editor mode.
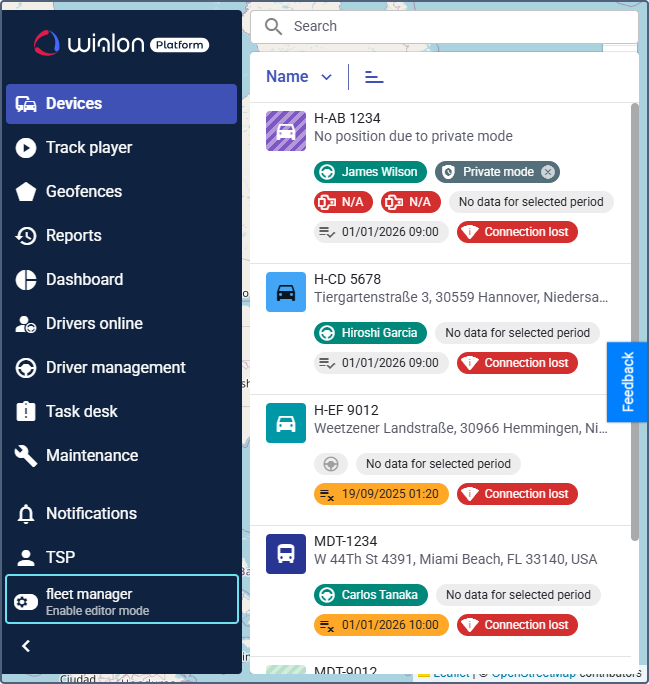
-
Click the icon
 in the sidebar or your username to select the workspace you want to edit. In the menu that opens you can see the current workspace. To change it, click on the Workspaces line and select the necessary workspace from the list.
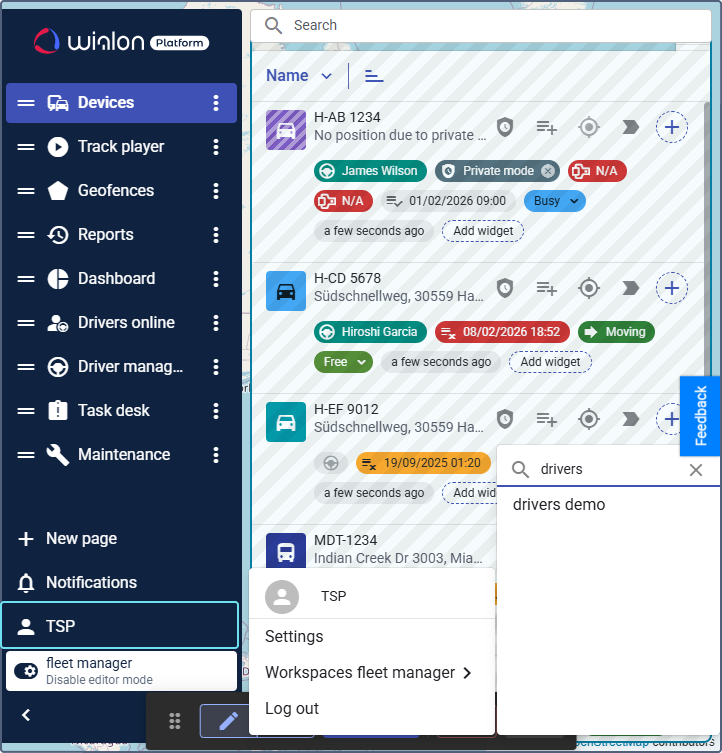
If you have more than 7 workspaces available, use the search by workspace name.
You can’t edit the
defaultworkspace.
Now you can start editing the page in the selected workspace.
Managing the editor mode toolbar
The editor mode toolbar is located at the bottom of the screen. You can change its position by dragging the icon  so that it doesn’t interfere with editing elements on the page.
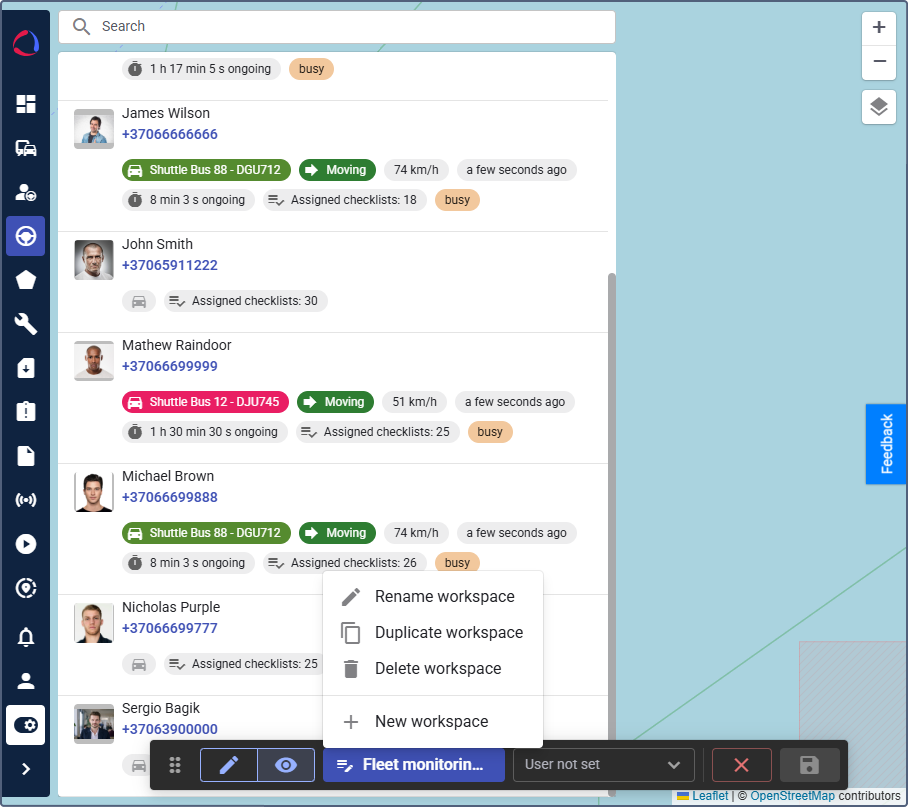
The bar includes the following buttons:
- Edit (button
 ): Is enabled by default in editor mode. Allows you to modify widgets and the layout of the page.
 - Preview (button
 ): Click the icon to switch on the preview mode. You can see the changes you have made before applying them to the workspace. When you switch to Preview, the user preview option is enabled.
 - Workspace menu: From this menu, you can rename the workspace, copy or delete it and create a new workspace.
- User preview (User not set dropdown): Available only when the Preview mode is active. This allows you to simulate the interface from the perspective of a specific customer user. To do this, select a user from the dropdown to verify how their permissions affect the page layout and widget visibility. The list includes all users belonging to the current customer. If no user is selected, the interface is displayed with unrestricted permissions. The selected user remains active while you are editing and is reset when you close the editor mode toolbar.
- Close (button
 ): Cancels all the changes and exists editor mode.
 - Save (button
 ): Saves the changes made to the current workspace.
Creating a new workspace
To create a new workspace, follow the next steps:
-
Enable the editor mode.
-
Click on the workspace name in the editor mode toolbar.
-
Click New workspace.

-
In the Current workspace field, select an existing workspace to use as a template.
-
Enter a unique and descriptive name for your new workspace, for example
Fleet manager. -
Click Save.
The new workspace is available. To grant access to the workspace for customers, see the guide Editing access to a workspace.