Geofences
Geofences are virtual boundaries on a map that enable real-time monitoring and automated actions for vehicles. You can use them to trigger alerts, generate reports, enhance security, and optimize fleet operations based on a vehicle’s location relative to defined areas.
Before you start, make sure that the Geofences module is included to the customer’s billing plan. For detailed information on billing plans, see the page Assigning billing plans to customers . If the module is included, follow these steps:
- Create a geofence group.
- Create a geofence on the map.
Creating a geofence group
Geofence groups help you organize geofences and add consistent data in additional properties to them (for example, port names, contact details).
- In Wialon Platform Studio, navigate to the Customers tab and select the customer.
- Go to the Geofence groups tab.
- Click Add.
-
In the new window:
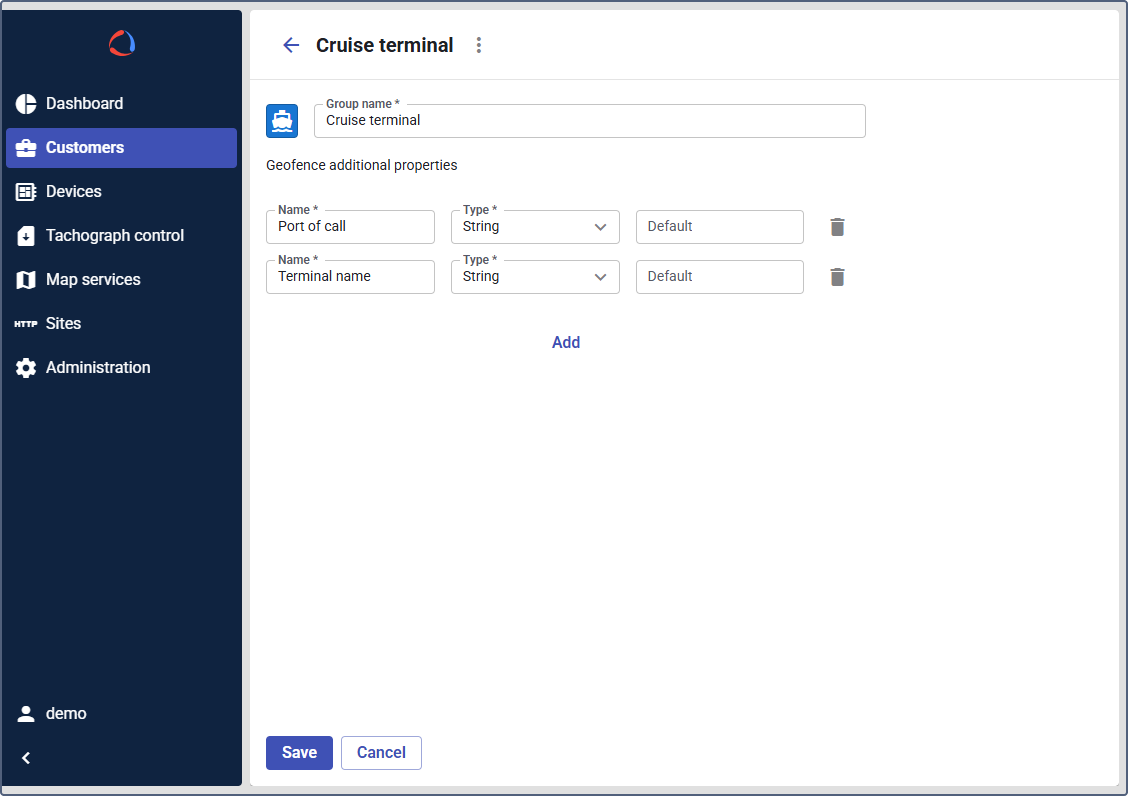
- Enter a Group name (for example,
Cruise terminal). - (Optional): Select the icon and color that will be shown for all geofences within the group.
- Enter a Group name (for example,
-
Under Geofence additional properties, click Add to define the data fields for this group:
- Provide a Name (for example,
Port of call). - Select a data type in the Type field (for example,
String).
Additional properties in Wialon Platform support three data types:
- String for text values
- Number for numerical values
- Integer for whole numbers
- Provide a Name (for example,
-
Click Save to create the new geofence group.
Now you and your customers can sort geofences into groups to keep the data consistent and uniform.
Creating a geofence on the map
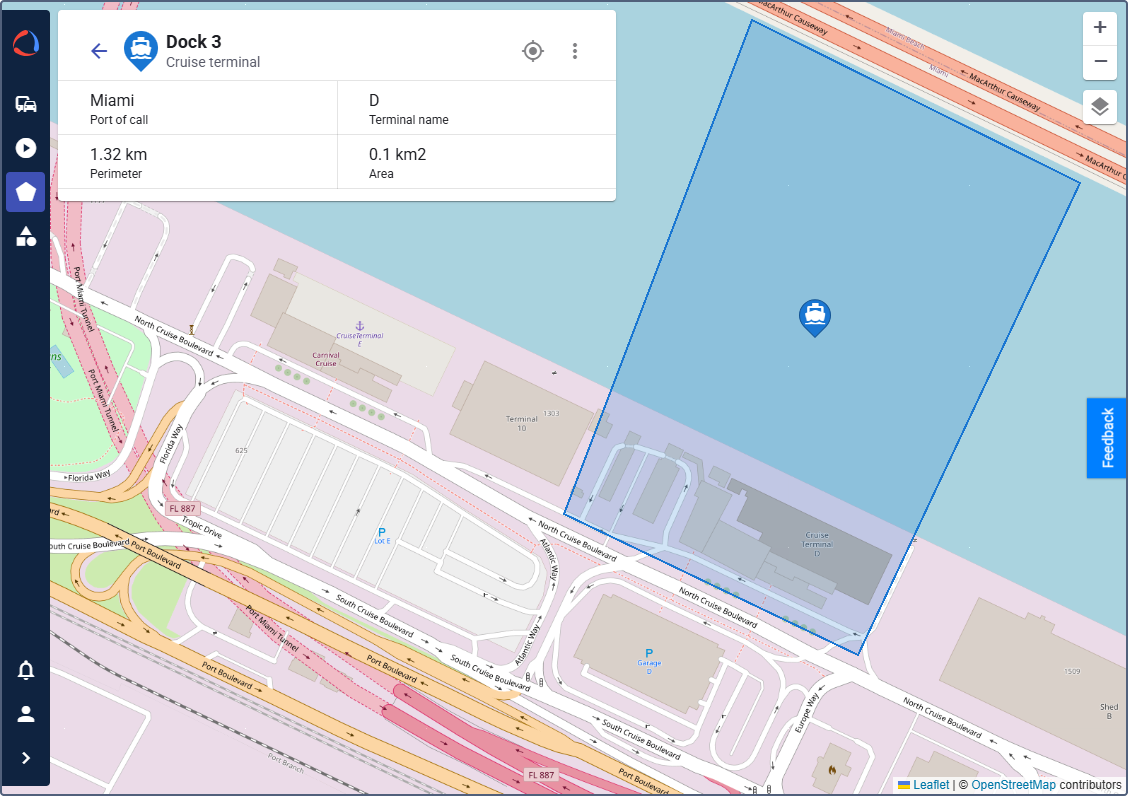
Next, create a geofence in Wialon Platform FleetSpace. In this guide, we’ll create a dock area in a port.
- Log in to Wialon Platform FleetSpace. (Creating geofences is available from both the Service provider account and the customer account.)
- Navigate to the Geofences page on the sidebar. If the page isn’t available, add it using the editor mode.
- Click Add to begin creating a new geofence.
- Select the Polygon shape.
- On the map:
- Click point by point along the required area to create a polygon that covers the entire territory.
- Double-click the last point to complete the shape.
- In the New geofence window:
- Enter a descriptive geofence name (for example,
Dock 3). - (Optional): Assign this geofence to a group.
- If you assigned a group, complete the additional properties with relevant information.
- Enter a descriptive geofence name (for example,
- Click Save.
Now you can use the geofence for automation and reporting.