Customizing the white-label site interface
Who can do it: Service provider
Where: Wialon Platform Studio
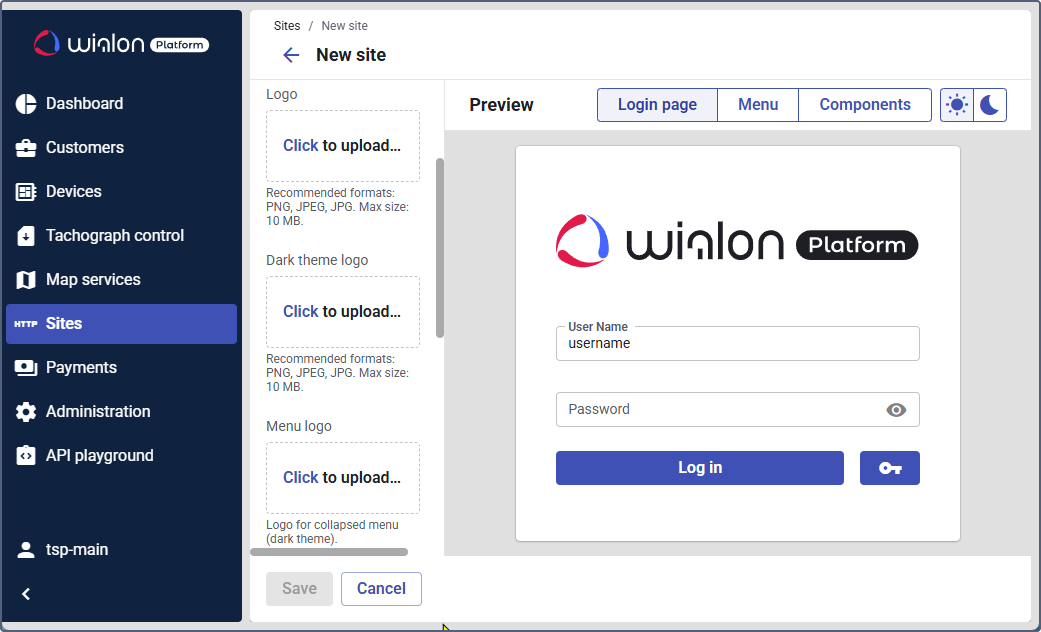
You can customize the look of your white-label site when creating and editing it. The Preview area allows you to see what the login page, menu and other components will look like in the interface.
To customize your site, follow these steps:
- In the Logo section, upload or drag a file you want to use as the site logo instead of the default Wialon Platform logo. The file size must not exceed 10 MB.
- In the Dark theme logo section, upload or drag a file you want to use as the site logo for the dark theme. The file size must not exceed 10 MB.
- In the Menu logo section, upload or drag a file you want to use as a logo in the collapsed menu with the dark theme. The file size must not exceed 10 MB.
- In the Favicon section, upload or drag a file you want to use as the site favicon or app icon. The file size must not exceed 1 MB.
- In the Login page background section, upload or drag a file you want to use as a background of the login page. You can use an image or video file. Its size must not exceed 30 MB.
- Select the login box position to adjust the alignment of the login box.
- Set the primary colors for the light and dark mode. You can use the default light and dark blue colors, or select custom ones using the color palette or color picker and click Apply.
- In the Preview area, navigate through all the tabs to make sure your logo, colors, and layout work well together.
- Click Save.
The recommended image formats are PNG, JPEG, JPG.
If you do not provide images for the Logo, Dark theme logo, and Menu logo sections, the default Wialon Platform logos are used. If you upload at least one image, it is applied to all three logos.
If a file is missing in only one section, the following logic applies:
- If no Logo is provided, the Dark theme logo is used.
- If no Dark theme logo is provided, the Logo is used.
- If no Menu logo is provided, the Dark theme logo is used.